-
Notifications
You must be signed in to change notification settings - Fork 276
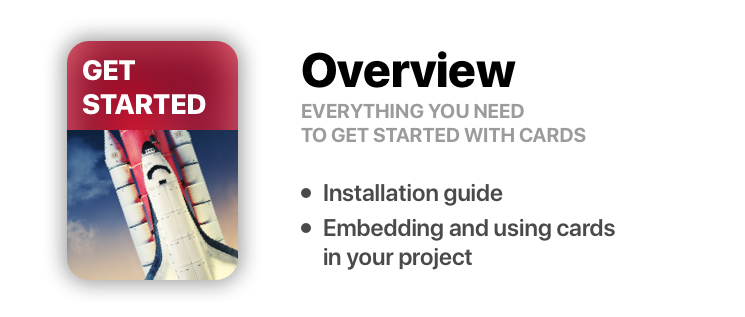
Overview
PaoloCuscela edited this page Oct 22, 2017
·
5 revisions
- Make sure you have Cocoapods Command Line installed on your Mac
- Open Terminal app and move to your project folder:
cd ~/path/to/your/project/- Init a new Podfile:
pod init- Paste this below #Pods for 'Your project' in the pod file
pod 'Cards'- Save, return to terminal and do a pod install
pod install- Download the repo
- ⌘C ⌘V the 'Cards' folder in your project
- In your Project's Info go to 'Build Phases'
- Open 'Compile Sources' and add all the files in the folder
- Go to main.storyboard and add a blank UIView
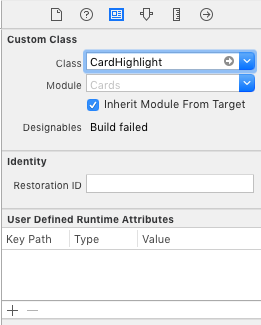
- Open the Identity Inspector and type 'CardHighlight' the 'class' field
- Switch to the Attributes Inspector and configure it as you like. (See Configuration for a detailed overview of every attribute. )
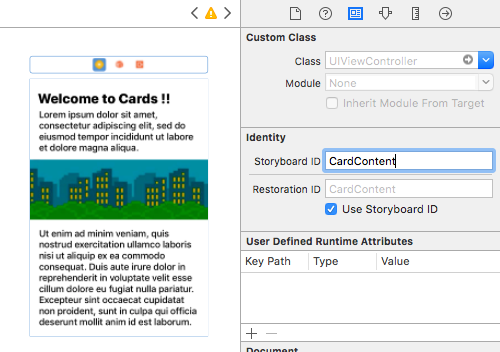
- Drag a blank UIViewController and design its view as you like
- Move to the Identity inspector and type 'CardContent' in the StoryboardID field
- Now while holding cmd drag the card from the Storyboard to your ViewController swift file and name the new @IBOutlet "card"
- In ''viewDidLoad()" method init your CardContent view controller and assign its view to card.detailView
let detailVC = storyboard?.instantiateViewController(withIdentifier: "CardContent")
card.detailView = detailVC?.view// Aspect Ratio of 5:6 is preferred
let card = CardHighlight(frame: CGRect(x: 10, y: 30, width: 200 , height: 240))
card.backgroundColor = UIColor(red: 0, green: 94/255, blue: 112/255, alpha: 1)
card.icon = UIImage(named: "flappy")
card.title = "Welcome \nto \nCards !"
card.itemTitle = "Flappy Bird"
card.itemSubtitle = "Flap That !"
card.textColor = UIColor.white
let detailVC = storyboard?.instantiateViewController(withIdentifier: "CardContent")
// Or init a new one and programmatically design its view
card.detailView = detailVC?.view
view.addSubview(card)