To enble/disable schedulers in the frontend and/or in an automation, you can use this feature. This allow to create dynamic switches entities in Home Assistant for each scheduler.
The switch is in this form:
switch.simplescheduler_id_scheduler_name
Switch is created within a minute of the creation of a new scheduler, and removed as you delete a scheduler.
To use the feature you need three things:
- a MQTT server (also named broker)
- enable the MQTT integration in Home Assistant
- activate the feature in Simplescheduler
It's less complicated than it seems!
Set up Simplescheduler to point to your MQTT broker and set Enabled to true
MQTT:
  enabled: true
  server: your_mqtt_server_address
  port: '1883'
  username: your_mqtt_user
  password: your_mqtt_password
If auth is not used, leave the username and password fields empty. You also need the MQTT Integration in your Home Assistant with discovery enabled. If you use MQTT you should already have it, but if you don't take a look at step 2 in the next section.
You have to follow three simple steps:
Install the addon "Mosquitto broker", start it and enable "Start on boot". No configuration needed.
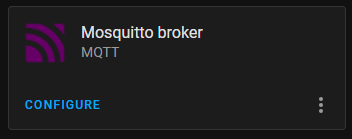
In Configuration > Device & Services add the MQTT integration. If you succesfully complete the prevous task, Home Assistant should automatically discover the integration and notify you to add it.
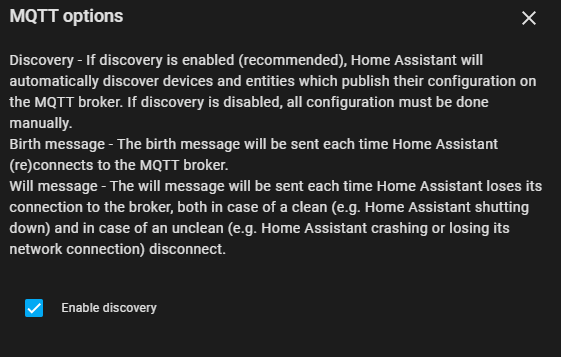
Click on CONFIGURE and leave all the default, but be sure to enable auto discovery
Simplescheduler is already pre-configured to use the Mosquitto Addon, so leave the server and the port parameter as default. Set enabled to true and add the username and the password that you use to login in Home Assistant.
MQTT:
  enabled: true
  server: core-mosquitto
  port: '1883'
  username: your_homeassistant_user
  password: your_homeassistant_password
After that, restart the addon.
If, for some reason, you don't want to write your HA credentials in the addon, you can use the credential that the MQTT integration use to talk to the MOSQUITTO addon. The username is always homeassistant while the password is randomly generated during the addon installation. You can retrieve it in the MQTT integration by clicking on "RE-CONFIGURE MQTT", reveal the password with the eye icon and then copy the password.


