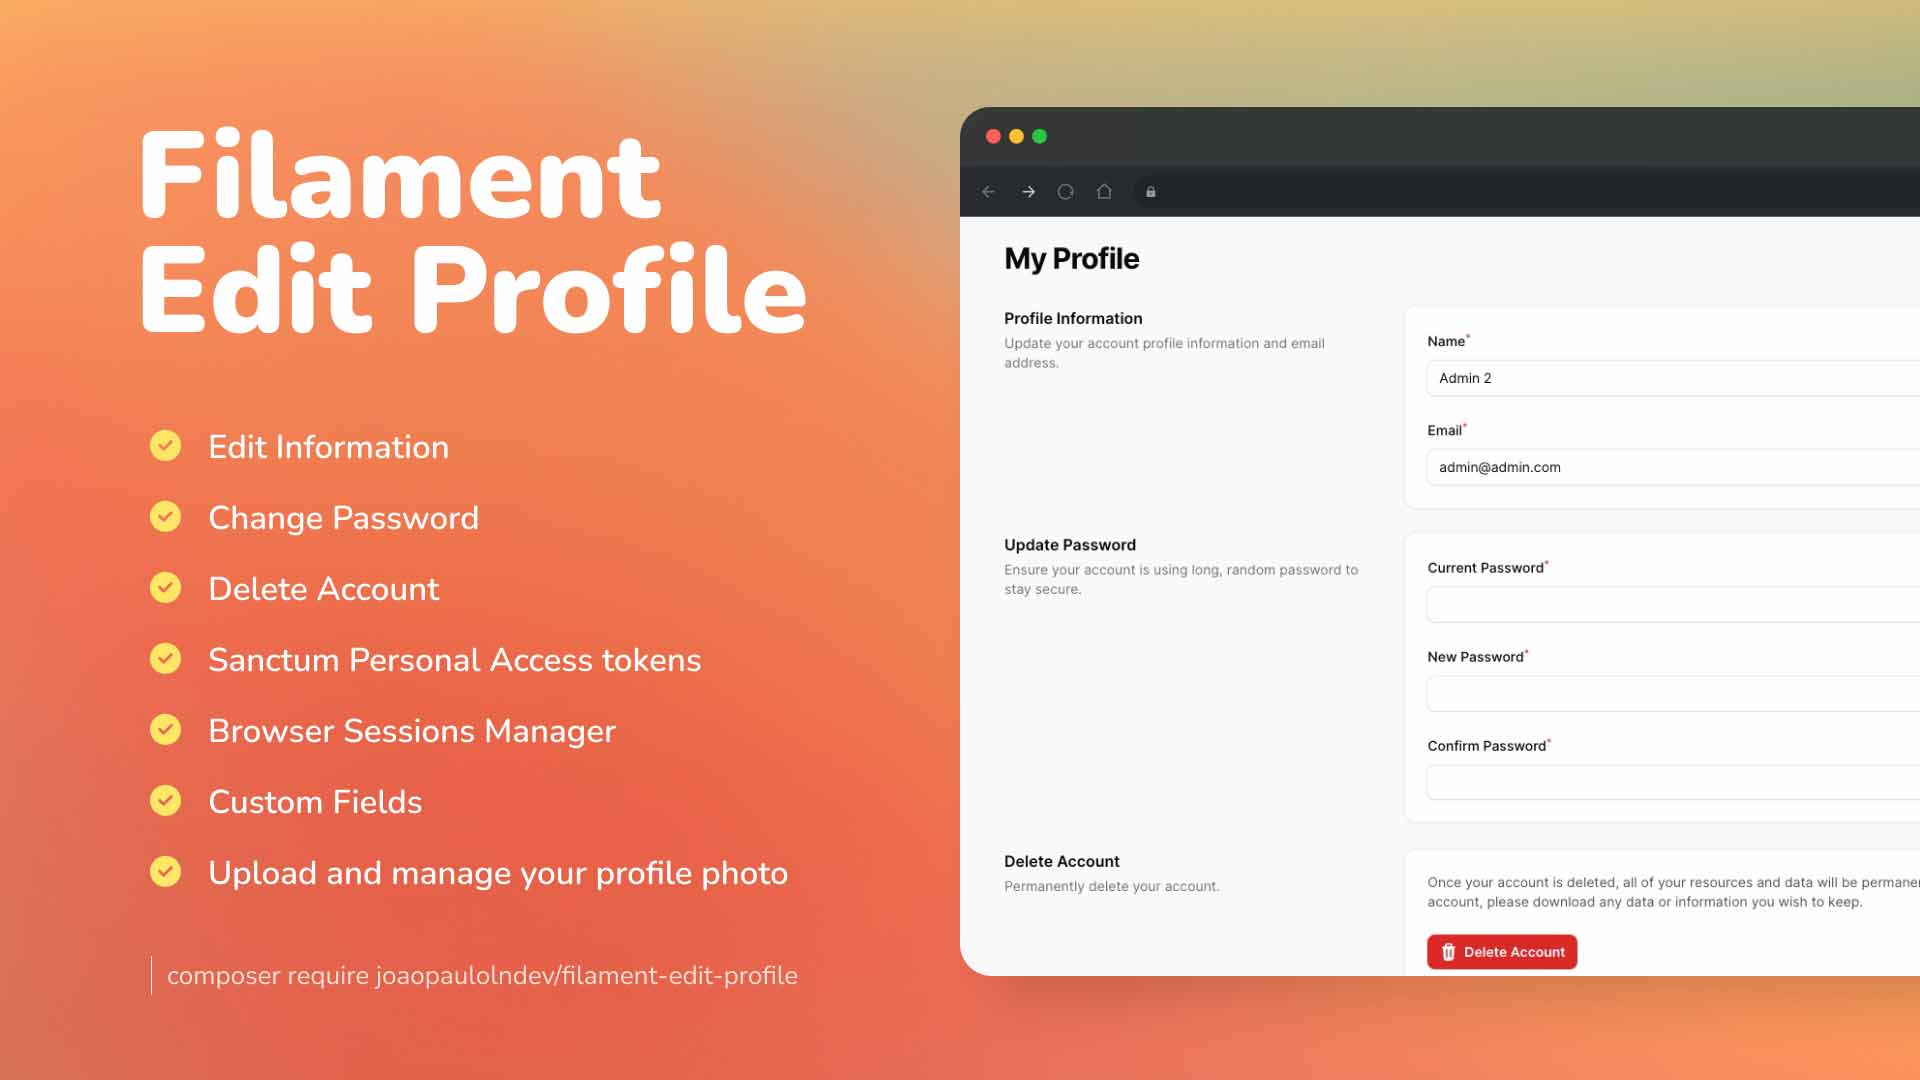
The Filament library is a user-friendly tool that simplifies profile editing, offering an intuitive interface and robust features to easily customize and manage user information.
- Edit Information: Manage your information such as email, and password.
- Change Password: Change your password.
- Profile Photo: Upload and manage your profile photo.
- Delete Account: Manage your account, such as delete account.
- Sanctum Personal Access tokens: Manage your personal access tokens.
- Browser Sessions Manage and log out your active sessions on other browsers and devices.
- Custom Fields: Add custom fields to the form.
- Custom Components: Add custom component to the page.
- Support: Laravel 11 and Filament 3.x
You can install the package via composer:
composer require joaopaulolndev/filament-edit-profileYou can publish and run the migrations with:
Optionally, you can publish the views using
php artisan vendor:publish --tag="filament-edit-profile-views"Optionally, you can publish the translations using
php artisan vendor:publish --tag="filament-edit-profile-translations"You can publish and run all the migrations with:
php artisan vendor:publish --tag="filament-edit-profile-migrations"
php artisan migrate
You can publish the config file with:
php artisan vendor:publish --tag="filament-edit-profile-config"Add in AdminPanelProvider.php
use Joaopaulolndev\FilamentEditProfile\FilamentEditProfilePlugin;

->plugins([
    FilamentEditProfilePlugin::make()
])
if you want to show for specific parameters to sort, icon, title, navigation group, navigation label and can access, you can use the following example:
use Joaopaulolndev\FilamentEditProfile\FilamentEditProfilePlugin;

 ->plugins([
     FilamentEditProfilePlugin::make()
        ->slug('my-profile')
        ->setTitle('My Profile')
        ->setNavigationLabel('My Profile')
        ->setNavigationGroup('Group Profile')
        ->setIcon('heroicon-o-user')
        ->setSort(10)
        ->canAccess(fn () => auth()->user()->id === 1)
        ->shouldRegisterNavigation(false)
        ->shouldShowDeleteAccountForm(false)
        ->shouldShowSanctumTokens()
        ->shouldShowBrowserSessionsForm()
        ->shouldShowAvatarForm()
        ->customProfileComponents([
            \App\Livewire\CustomProfileComponent::class,
        ])
 ])
Optionally, you can add a user menu item to the user menu in the navigation bar:
use Filament\Navigation\MenuItem;
use Joaopaulolndev\FilamentEditProfile\Pages\EditProfilePage;

->userMenuItems([
    'profile' => MenuItem::make()
        ->label(fn() => auth()->user()->name)
        ->url(fn (): string => EditProfilePage::getUrl())
        ->icon('heroicon-m-user-circle')
        //If you are using tenancy need to check with the visible method where ->company() is the relation between the user and tenancy model as you called
        ->visible(function (): bool {
            return auth()->user()->company()->exists();
        }),
])
If needed you can define the disk and visibility of the avatar image. In the config file add the following:
config/filament-edit-profile.php
return [
    'disk' => 's3',
    'visibility' => 'public',
];![]() Show the user avatar form using
Show the user avatar form using shouldShowAvatarForm(). This package follows the Filament user avatar to manage the avatar.
To show the avatar form, you need the following steps:
- Publish the migration file to add the avatar_url field to the users table:
php artisan vendor:publish --tag="filament-edit-profile-avatar-migration"
php artisan migrate- Add in your User model the avatar_url field in the fillable array:
protected $fillable = [
    'name',
    'email',
    'password',
    'avatar_url',
];- Set the getFilamentAvatarUrlAttribute method in your User model:
use Filament\Models\Contracts\HasAvatar;
use Illuminate\Support\Facades\Storage;

class User extends Authenticatable implements HasAvatar
{
    // ...
    public function getFilamentAvatarUrl(): ?string
    {
        return $this->avatar_url ? Storage::url("$this->avatar_url") : null;
    }
}- Optionally, you can specify the image directory path and file upload rules. :
->shouldShowAvatarForm(
    value: true,
    directory: 'avatars', // image will be stored in 'storage/app/public/avatars
    rules: 'mimes:jpeg,png|max:1024' //only accept jpeg and png files with a maximum size of 1MB
)- Don't forget to run the command
php artisan storage:link
Show the Sanctum token management component:
Please review Laravel Sanctum Docs
You may install Laravel Sanctum via the install:api Artisan command:
php artisan install:apiSanctum allows you to issue API tokens / personal access tokens that may be used to authenticate API requests to your application. When making requests using API tokens, the token should be included in the Authorization header as a Bearer token.
use Laravel\Sanctum\HasApiTokens;

class User extends Authenticatable
{
    use HasApiTokens, HasFactory, Notifiable;
}
If you want to control access, you can use condition, passing Closure or Boolean
Sanctum allows you to assign "abilities" to tokens. by default we have ['create', 'view', 'update', 'delete'] use permissions to customize
 ->plugins([
    FilamentEditProfilePlugin::make()
        ->shouldShowSanctumTokens(
            condition: fn() => auth()->user()->id === 1, //optional
            permissions: ['custom', 'abilities', 'permissions'] //optional
        )
])To utilize browser session, ensure that your session configuration's driver (or SESSION_DRIVER environment variable) is set to database.
SESSION_DRIVER=databaseIf you want to control access or disable browser sessions, you can pass a Closure or Boolean
 ->plugins([
    FilamentEditProfilePlugin::make()
        ->shouldShowBrowserSessionsForm(
            fn() => auth()->user()->id === 1, //optional
                //OR
            false //optional
        )
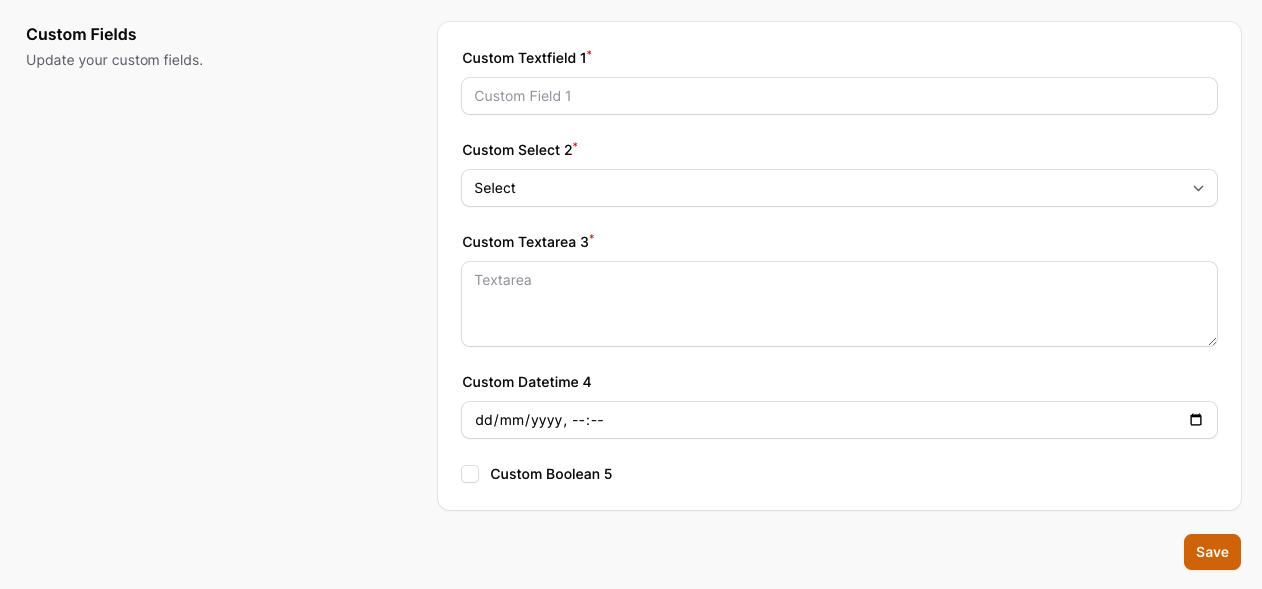
]) Optionally, you can add custom fields to the form.
To create custom fields you need to follow the steps below:
- Publish the migration file to add the custom fields to the users table:
php artisan vendor:publish --tag="filament-edit-profile-custom-field-migration"
php artisan migrate- Add in your User model the custom field in the fillable array:
protected $fillable = [
    'name',
    'email',
    'password',
    'custom_fields',
];- Add in your User model the custom field in the casts array:
protected function casts(): array
{
    return [
        'email_verified_at' => 'datetime',
        'password' => 'hashed',
        'custom_fields' => 'array'
    ];
}- Publish the config file using this command:
php artisan vendor:publish --tag="filament-edit-profile-config"- Edit the config file
config/filament-edit-profile.phpto add the custom fields to the form as example below:
<?php

return [
    'show_custom_fields' => true,
    'custom_fields' => [
        'custom_field_1' => [
            'type' => 'text',
            'label' => 'Custom Textfield 1',
            'placeholder' => 'Custom Field 1',
            'required' => true,
            'rules' => 'required|string|max:255',
        ],
        'custom_field_2' => [
            'type' => 'password',
            'label' => 'Custom Password field 2',
            'placeholder' => 'Custom Password Field 2',
            'required' => true,
            'rules' => 'required|string|max:255',
        ],
        'custom_field_3' => [
            'type' => 'select',
            'label' => 'Custom Select 3',
            'placeholder' => 'Select',
            'required' => true,
            'options' => [
                'option_1' => 'Option 1',
                'option_2' => 'Option 2',
                'option_3' => 'Option 3',
            ],
        ],
        'custom_field_4' => [
            'type' =>'textarea',
            'label' => 'Custom Textarea 4',
            'placeholder' => 'Textarea',
            'rows' => '3',
            'required' => true,
        ],
        'custom_field_5' => [
            'type' => 'datetime',
            'label' => 'Custom Datetime 5',
            'placeholder' => 'Datetime',
            'seconds' => false,
        ],
        'custom_field_6' => [
            'type' => 'boolean',
            'label' => 'Custom Boolean 6',
            'placeholder' => 'Boolean'
        ],
    ]
];If you need more control over your profile edit fields, you can create a custom component. To make this process easier, just use the artisan command.
Note
If you are not confident in using custom components, please review Filament Docs
php artisan make:edit-profile-form CustomProfileComponentThis will generate a new app/Livewire/CustomProfileComponent.php component and a new resources/views/livewire/custom-profile-component.blade.php view which you can customize.
Now in your Panel Provider, register the new component.
->plugins([
    FilamentEditProfilePlugin::make()
        ->customProfileComponents([
            \App\Livewire\CustomProfileComponent::class,
        ]);
])composer testPlease see CHANGELOG for more information on what has changed recently.
Please see CONTRIBUTING for details.
Please review our security policy on how to report security vulnerabilities.
The MIT License (MIT). Please see License File for more information.


