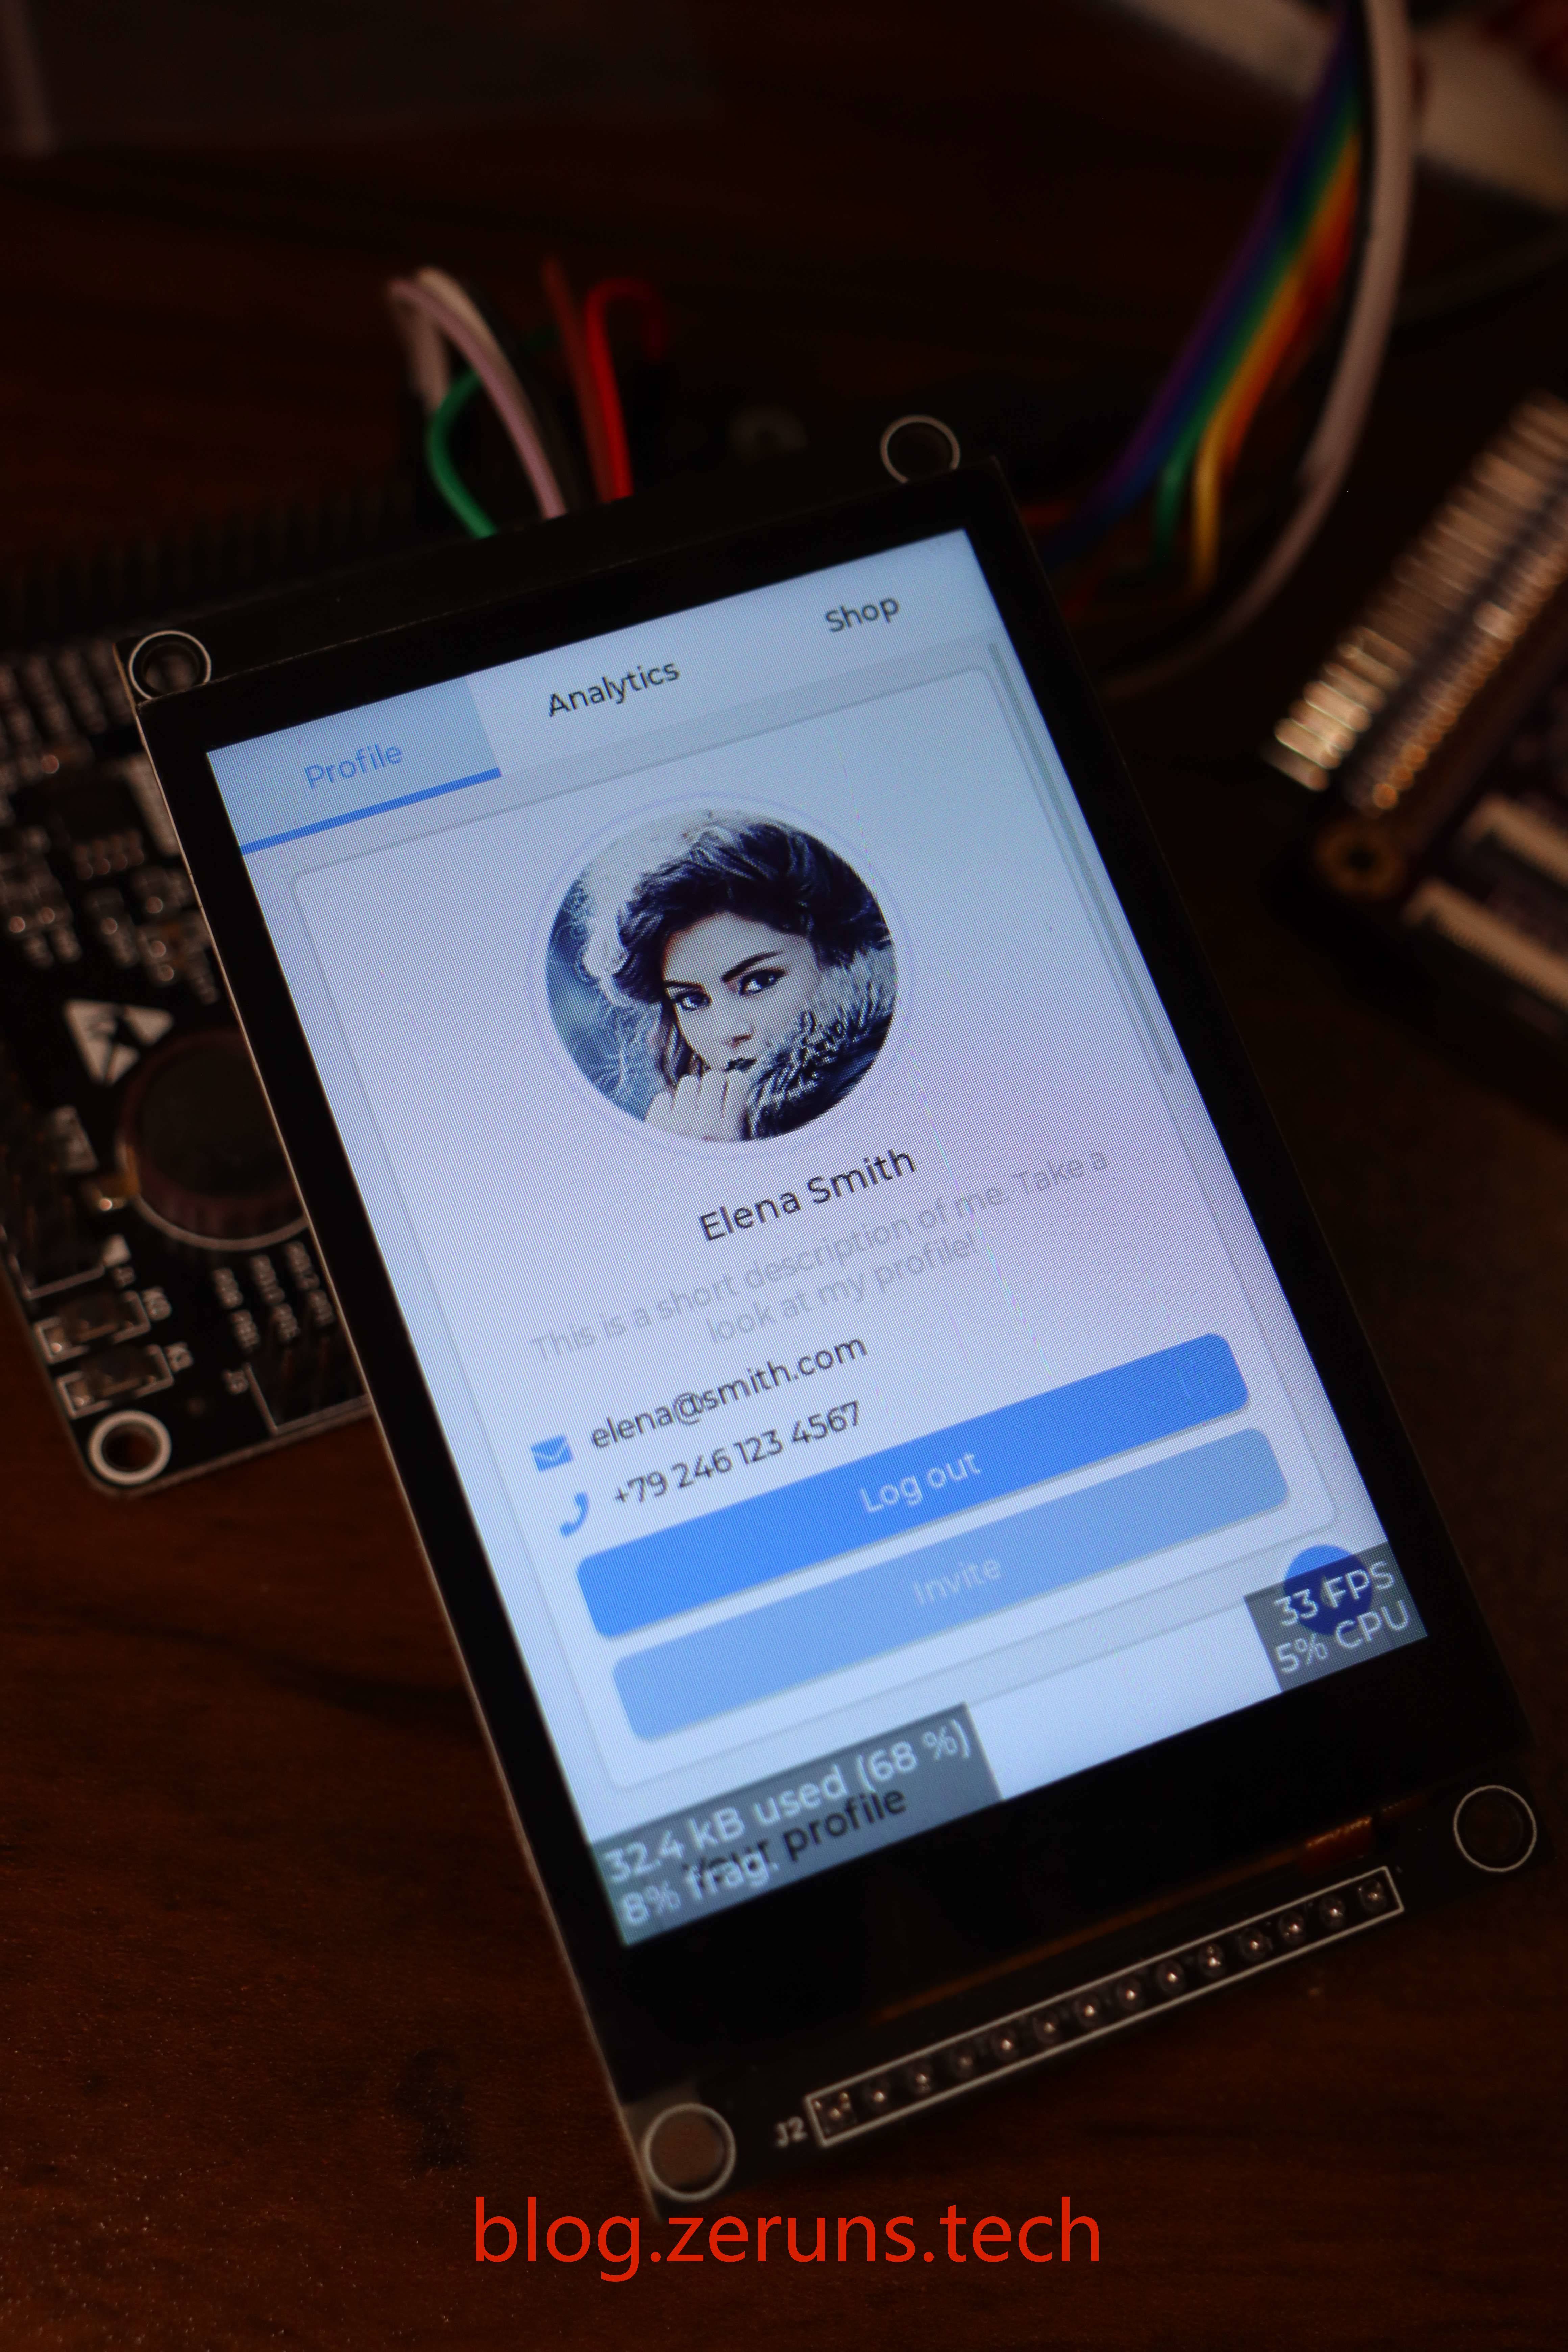
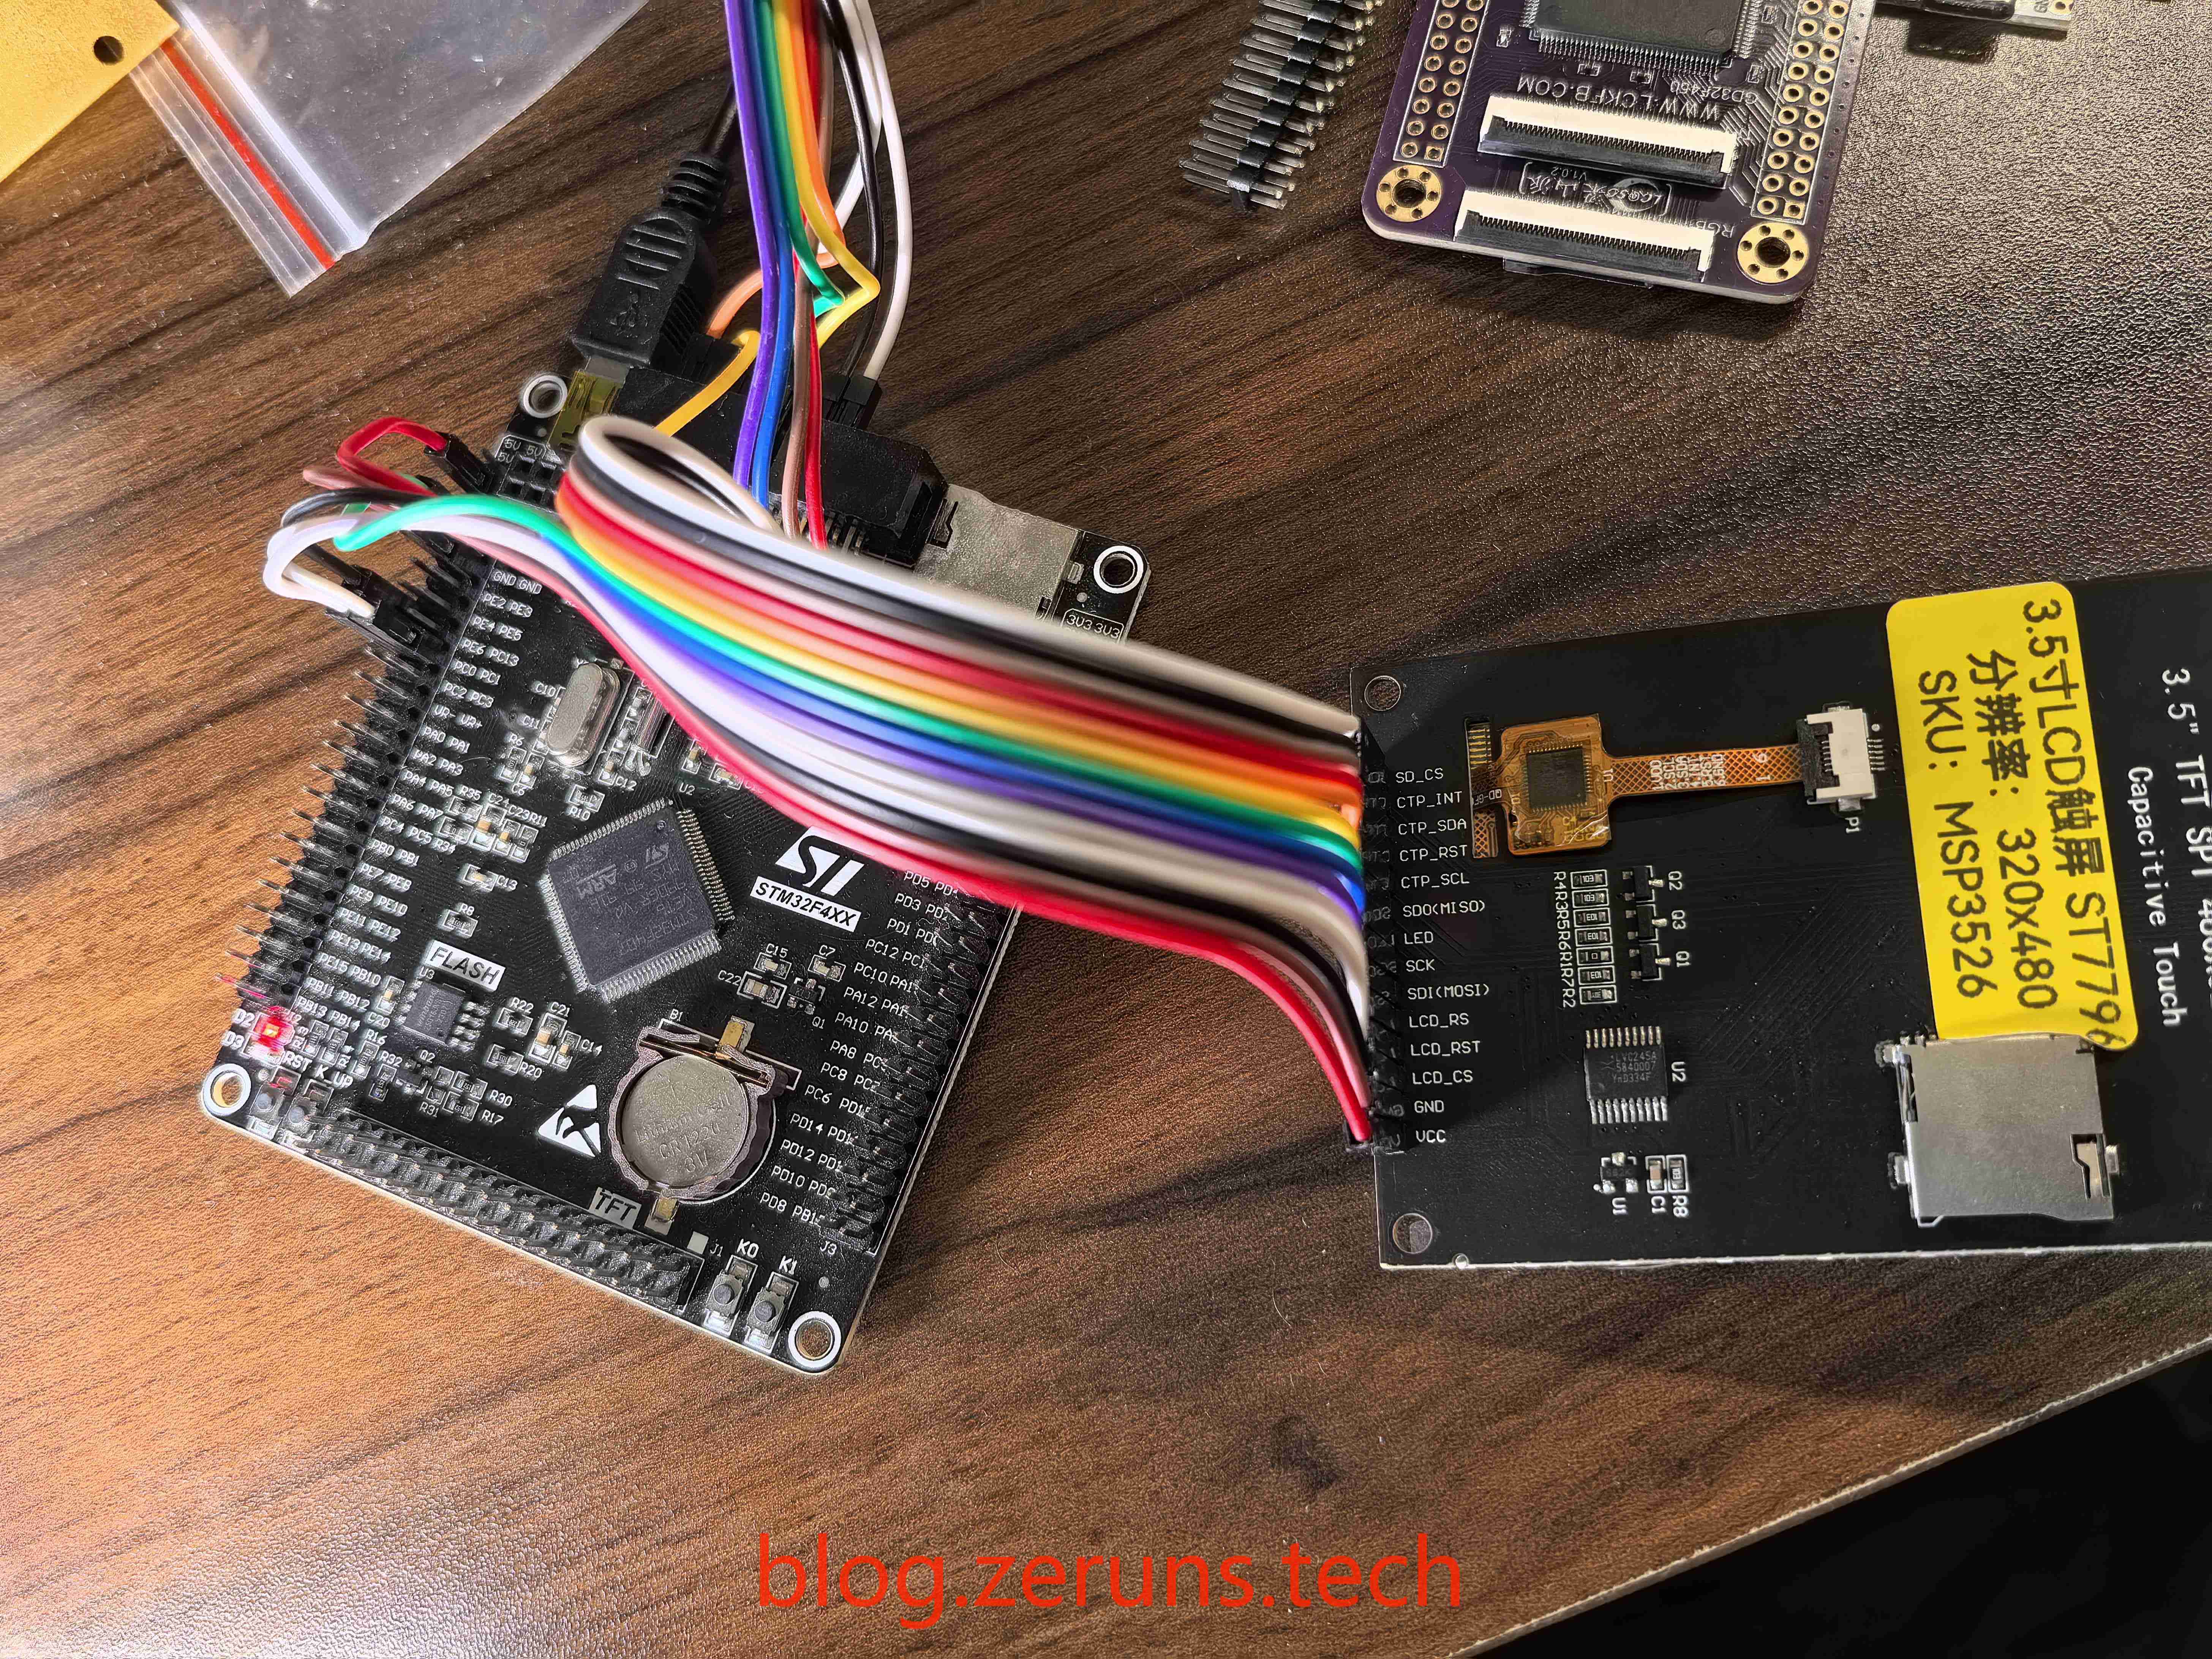
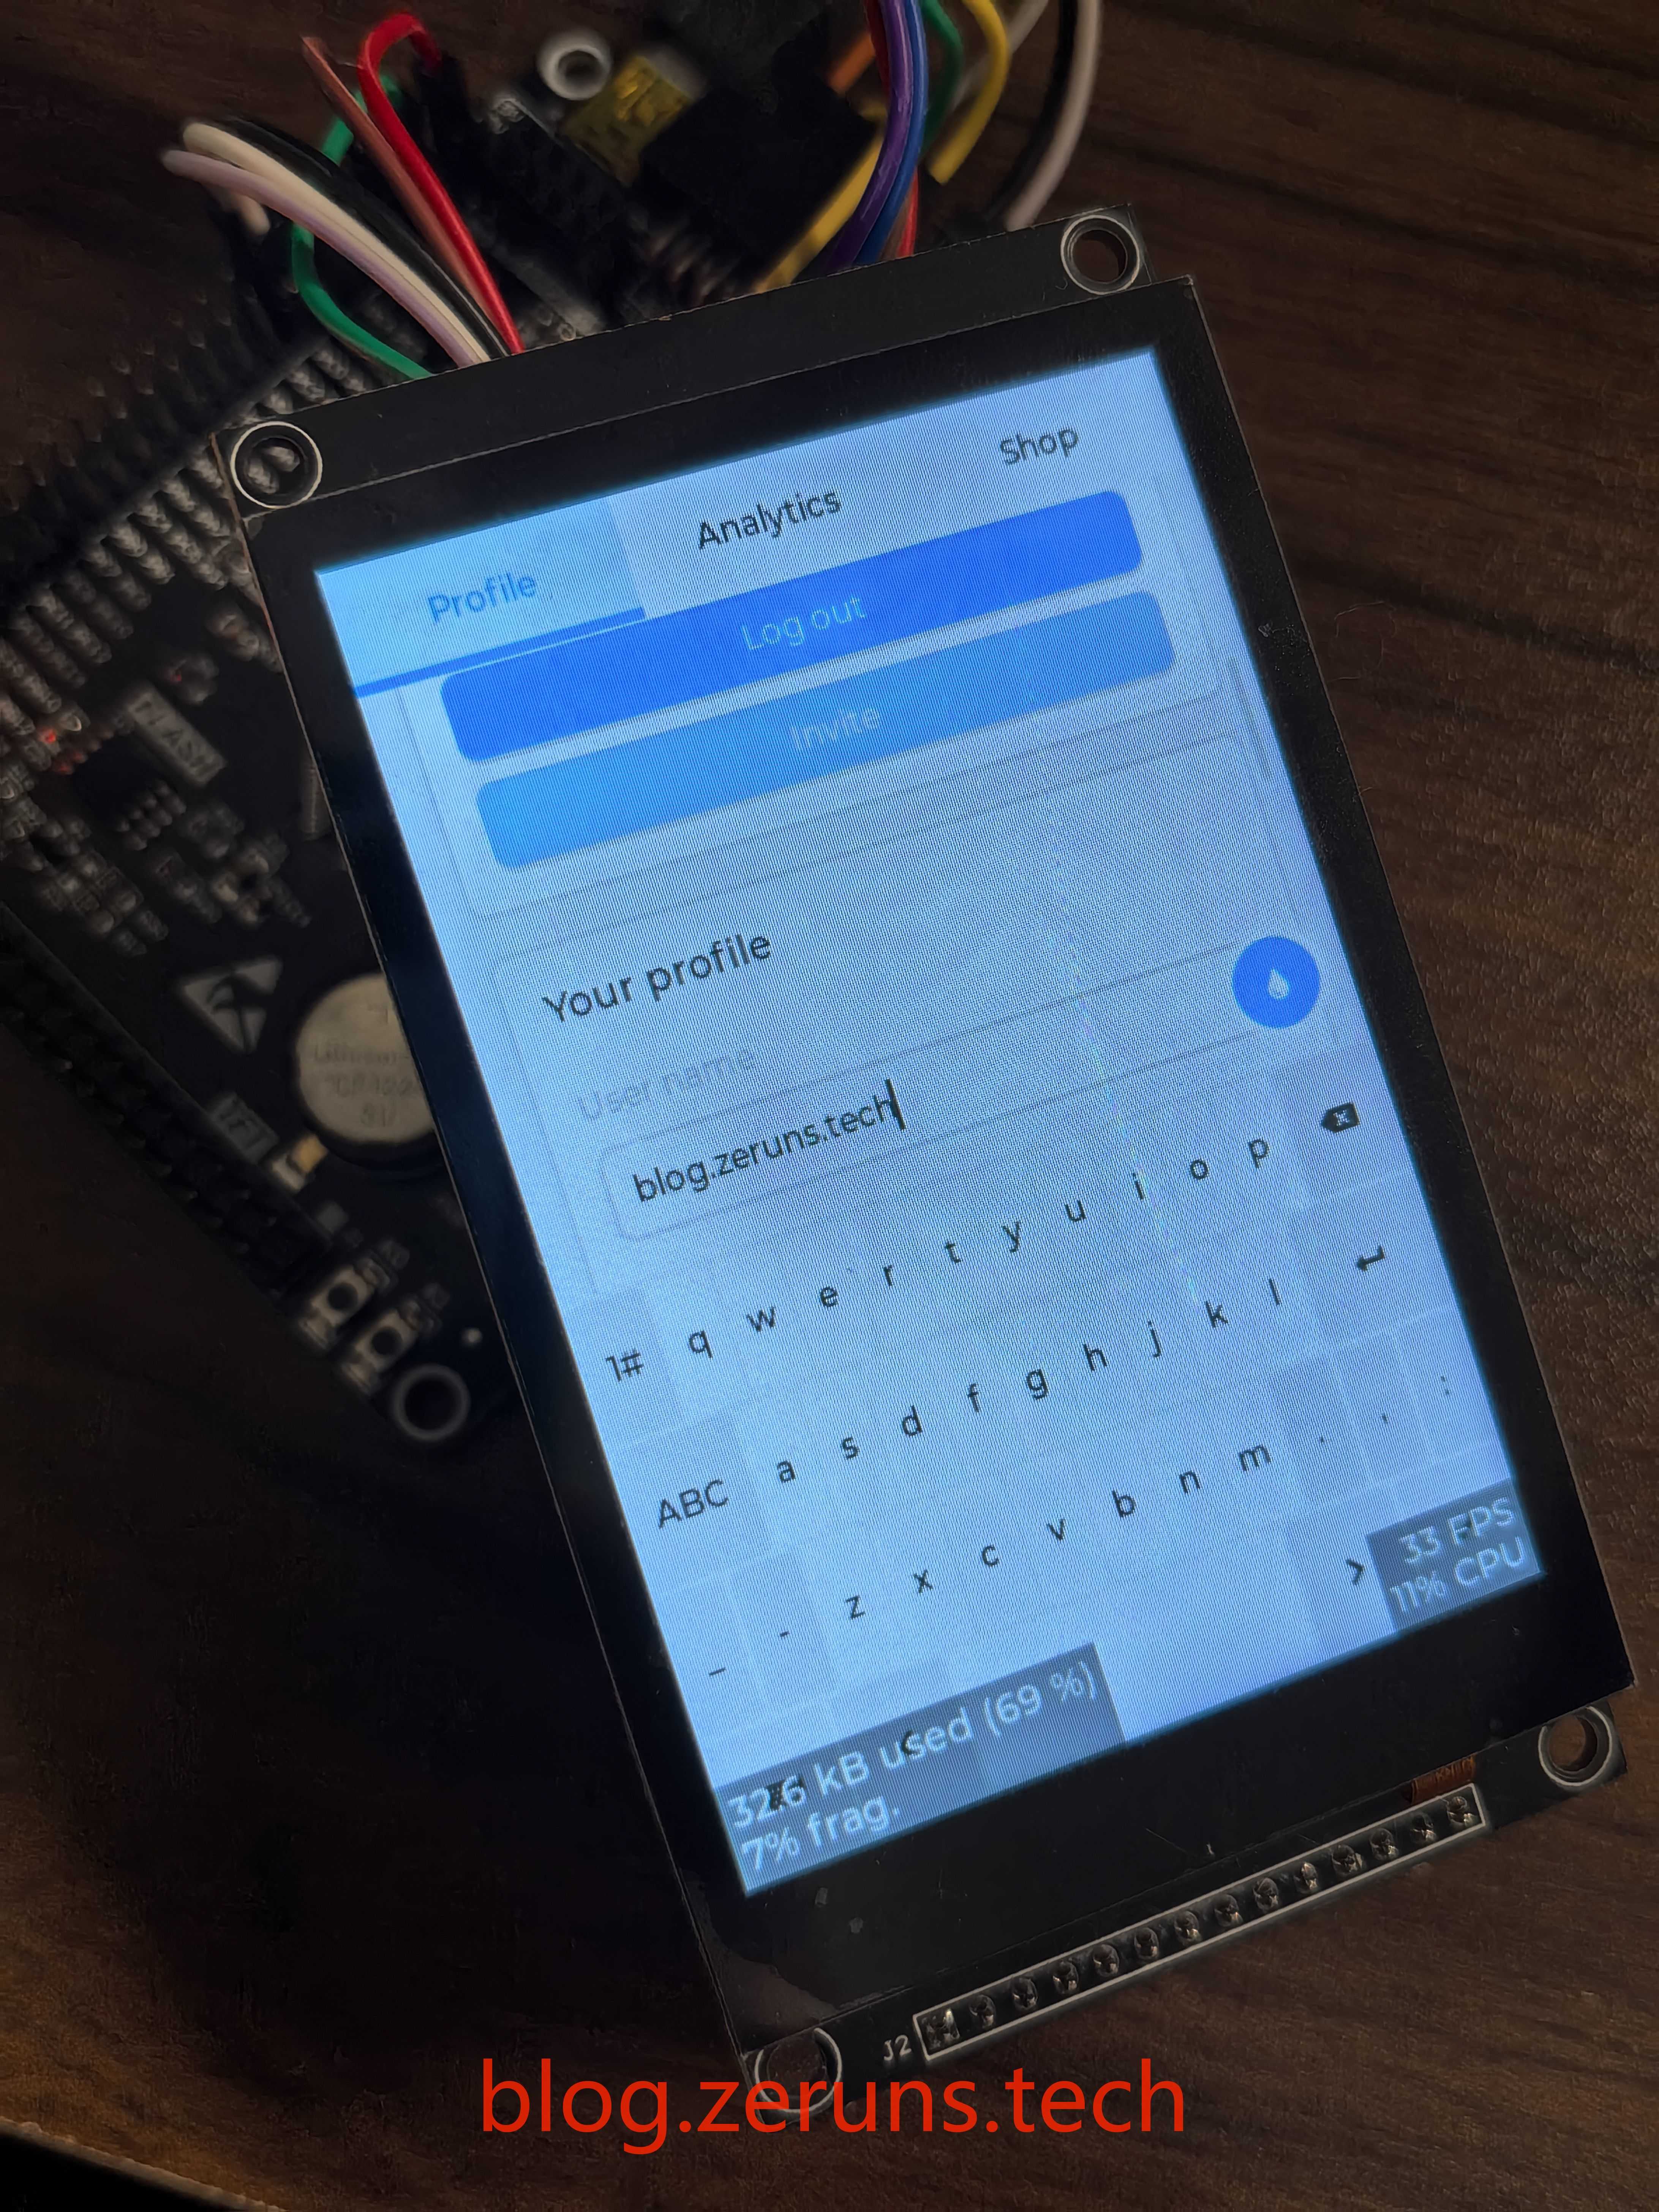
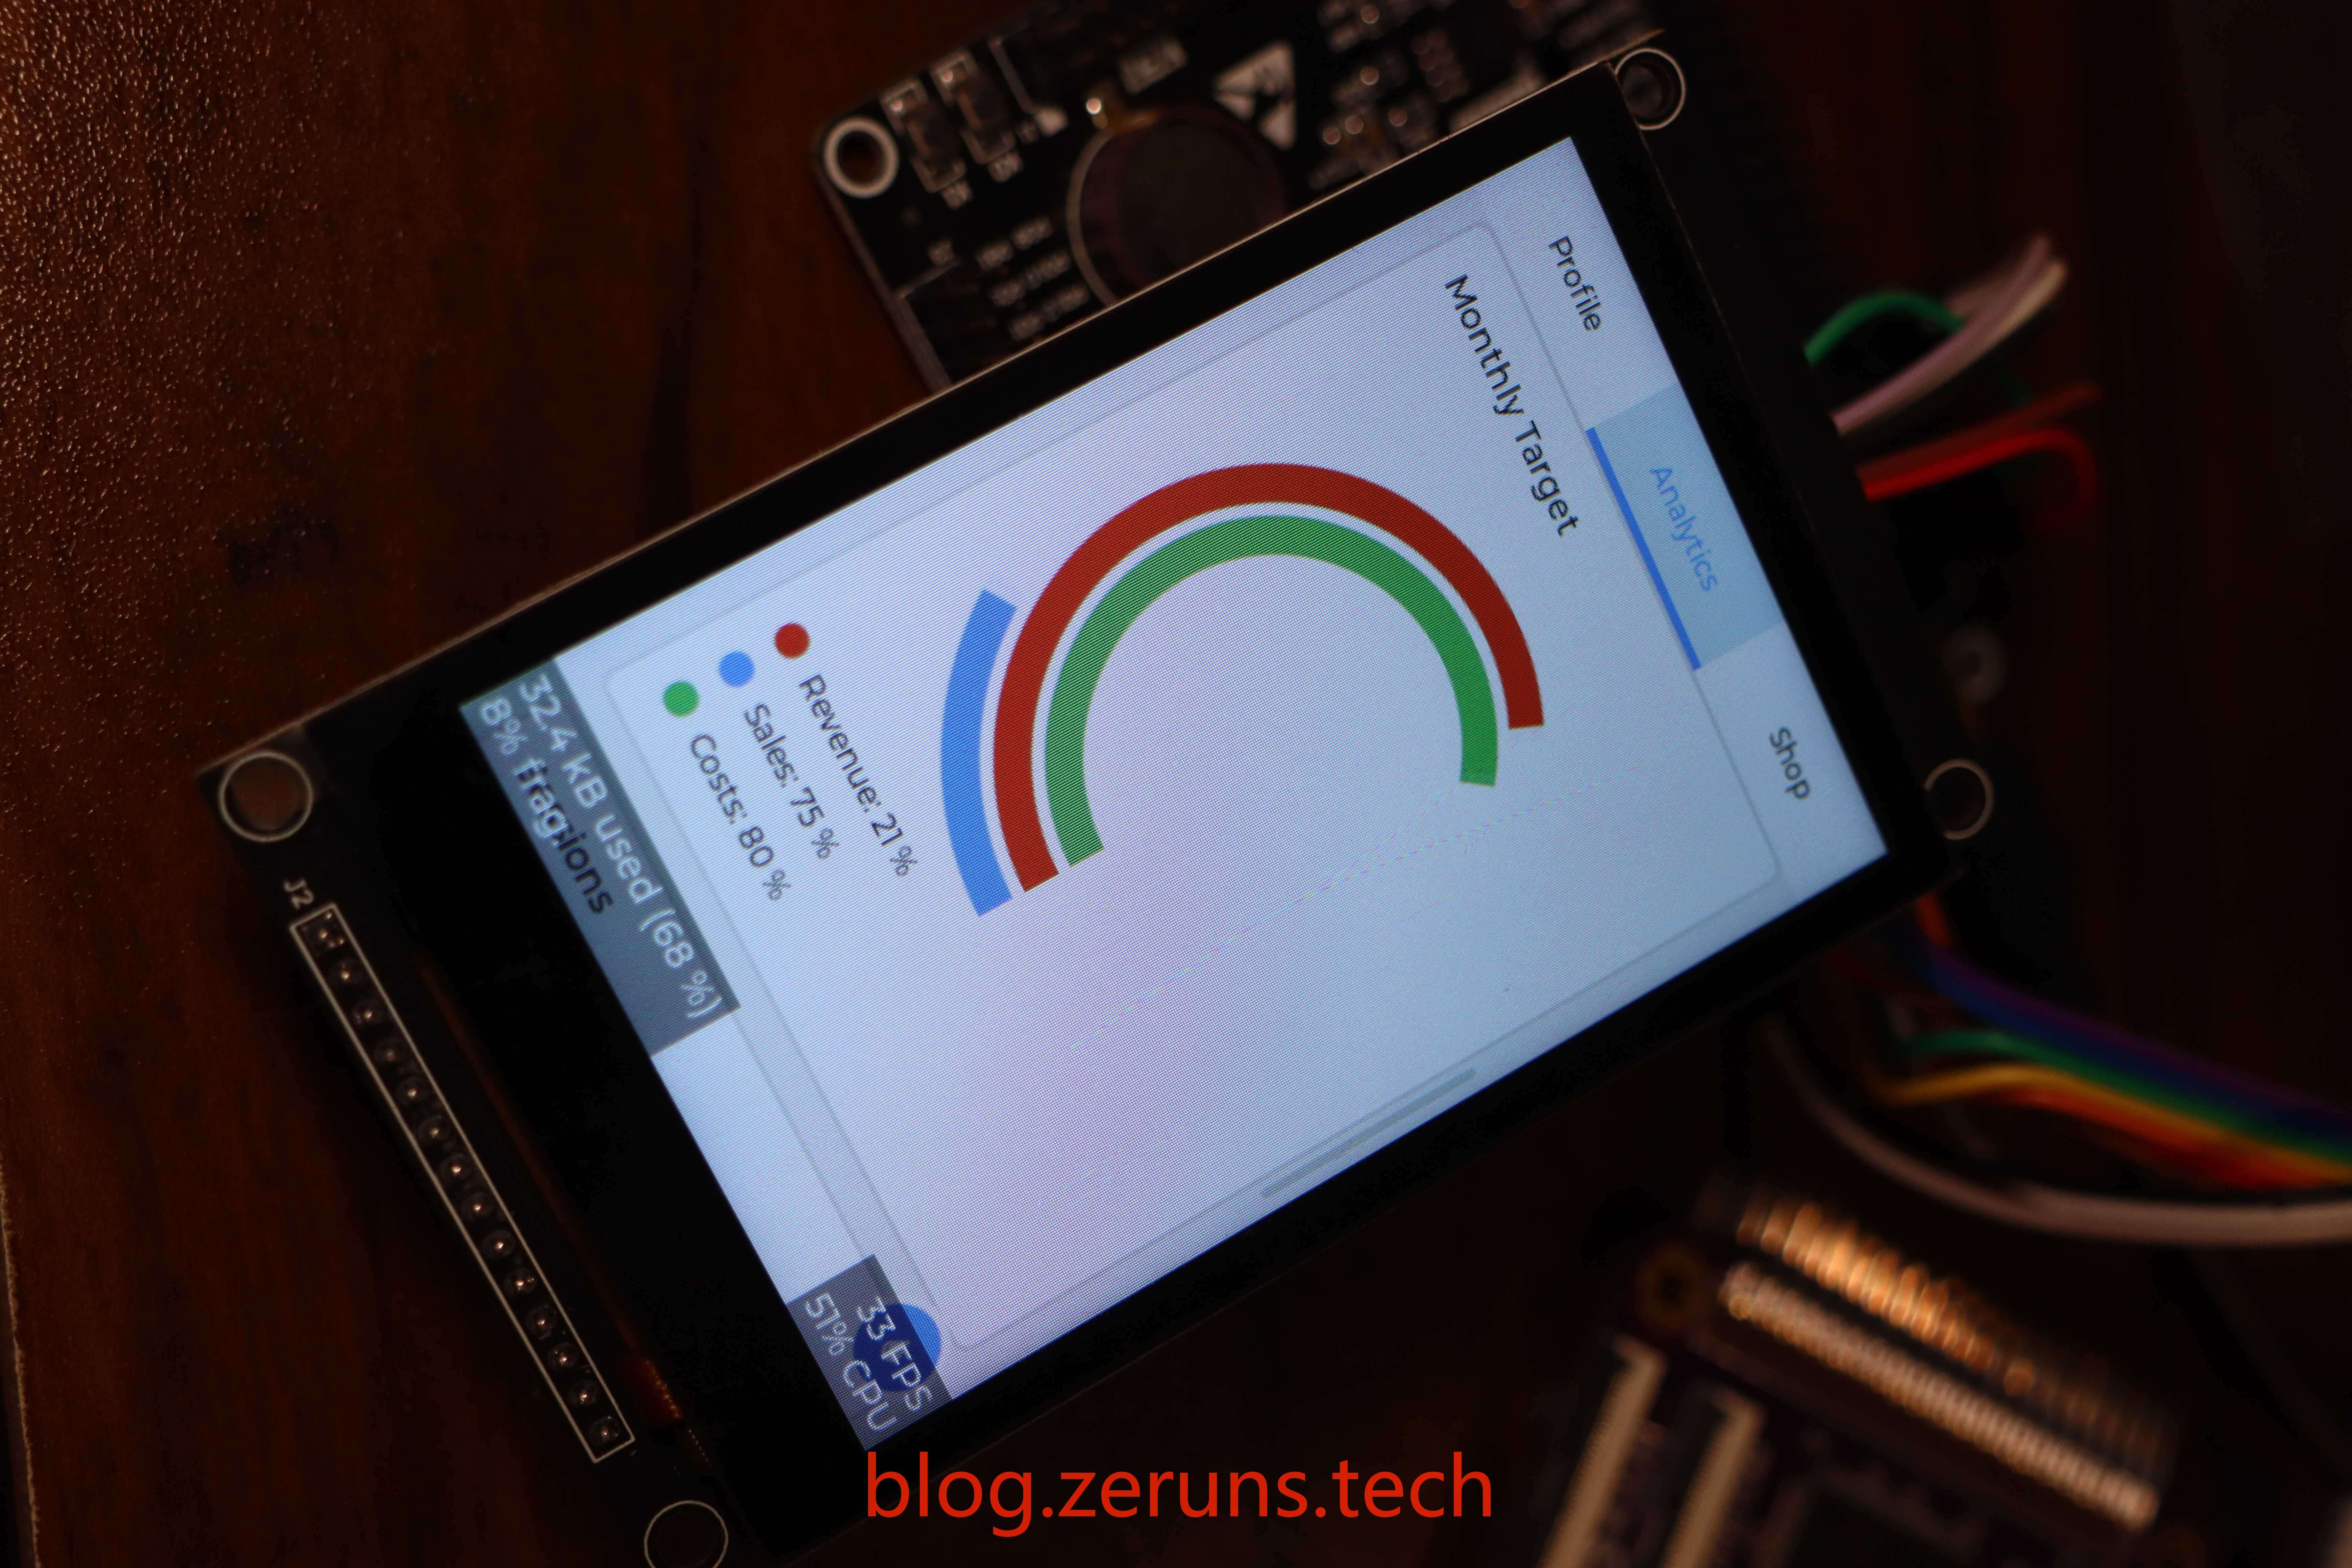
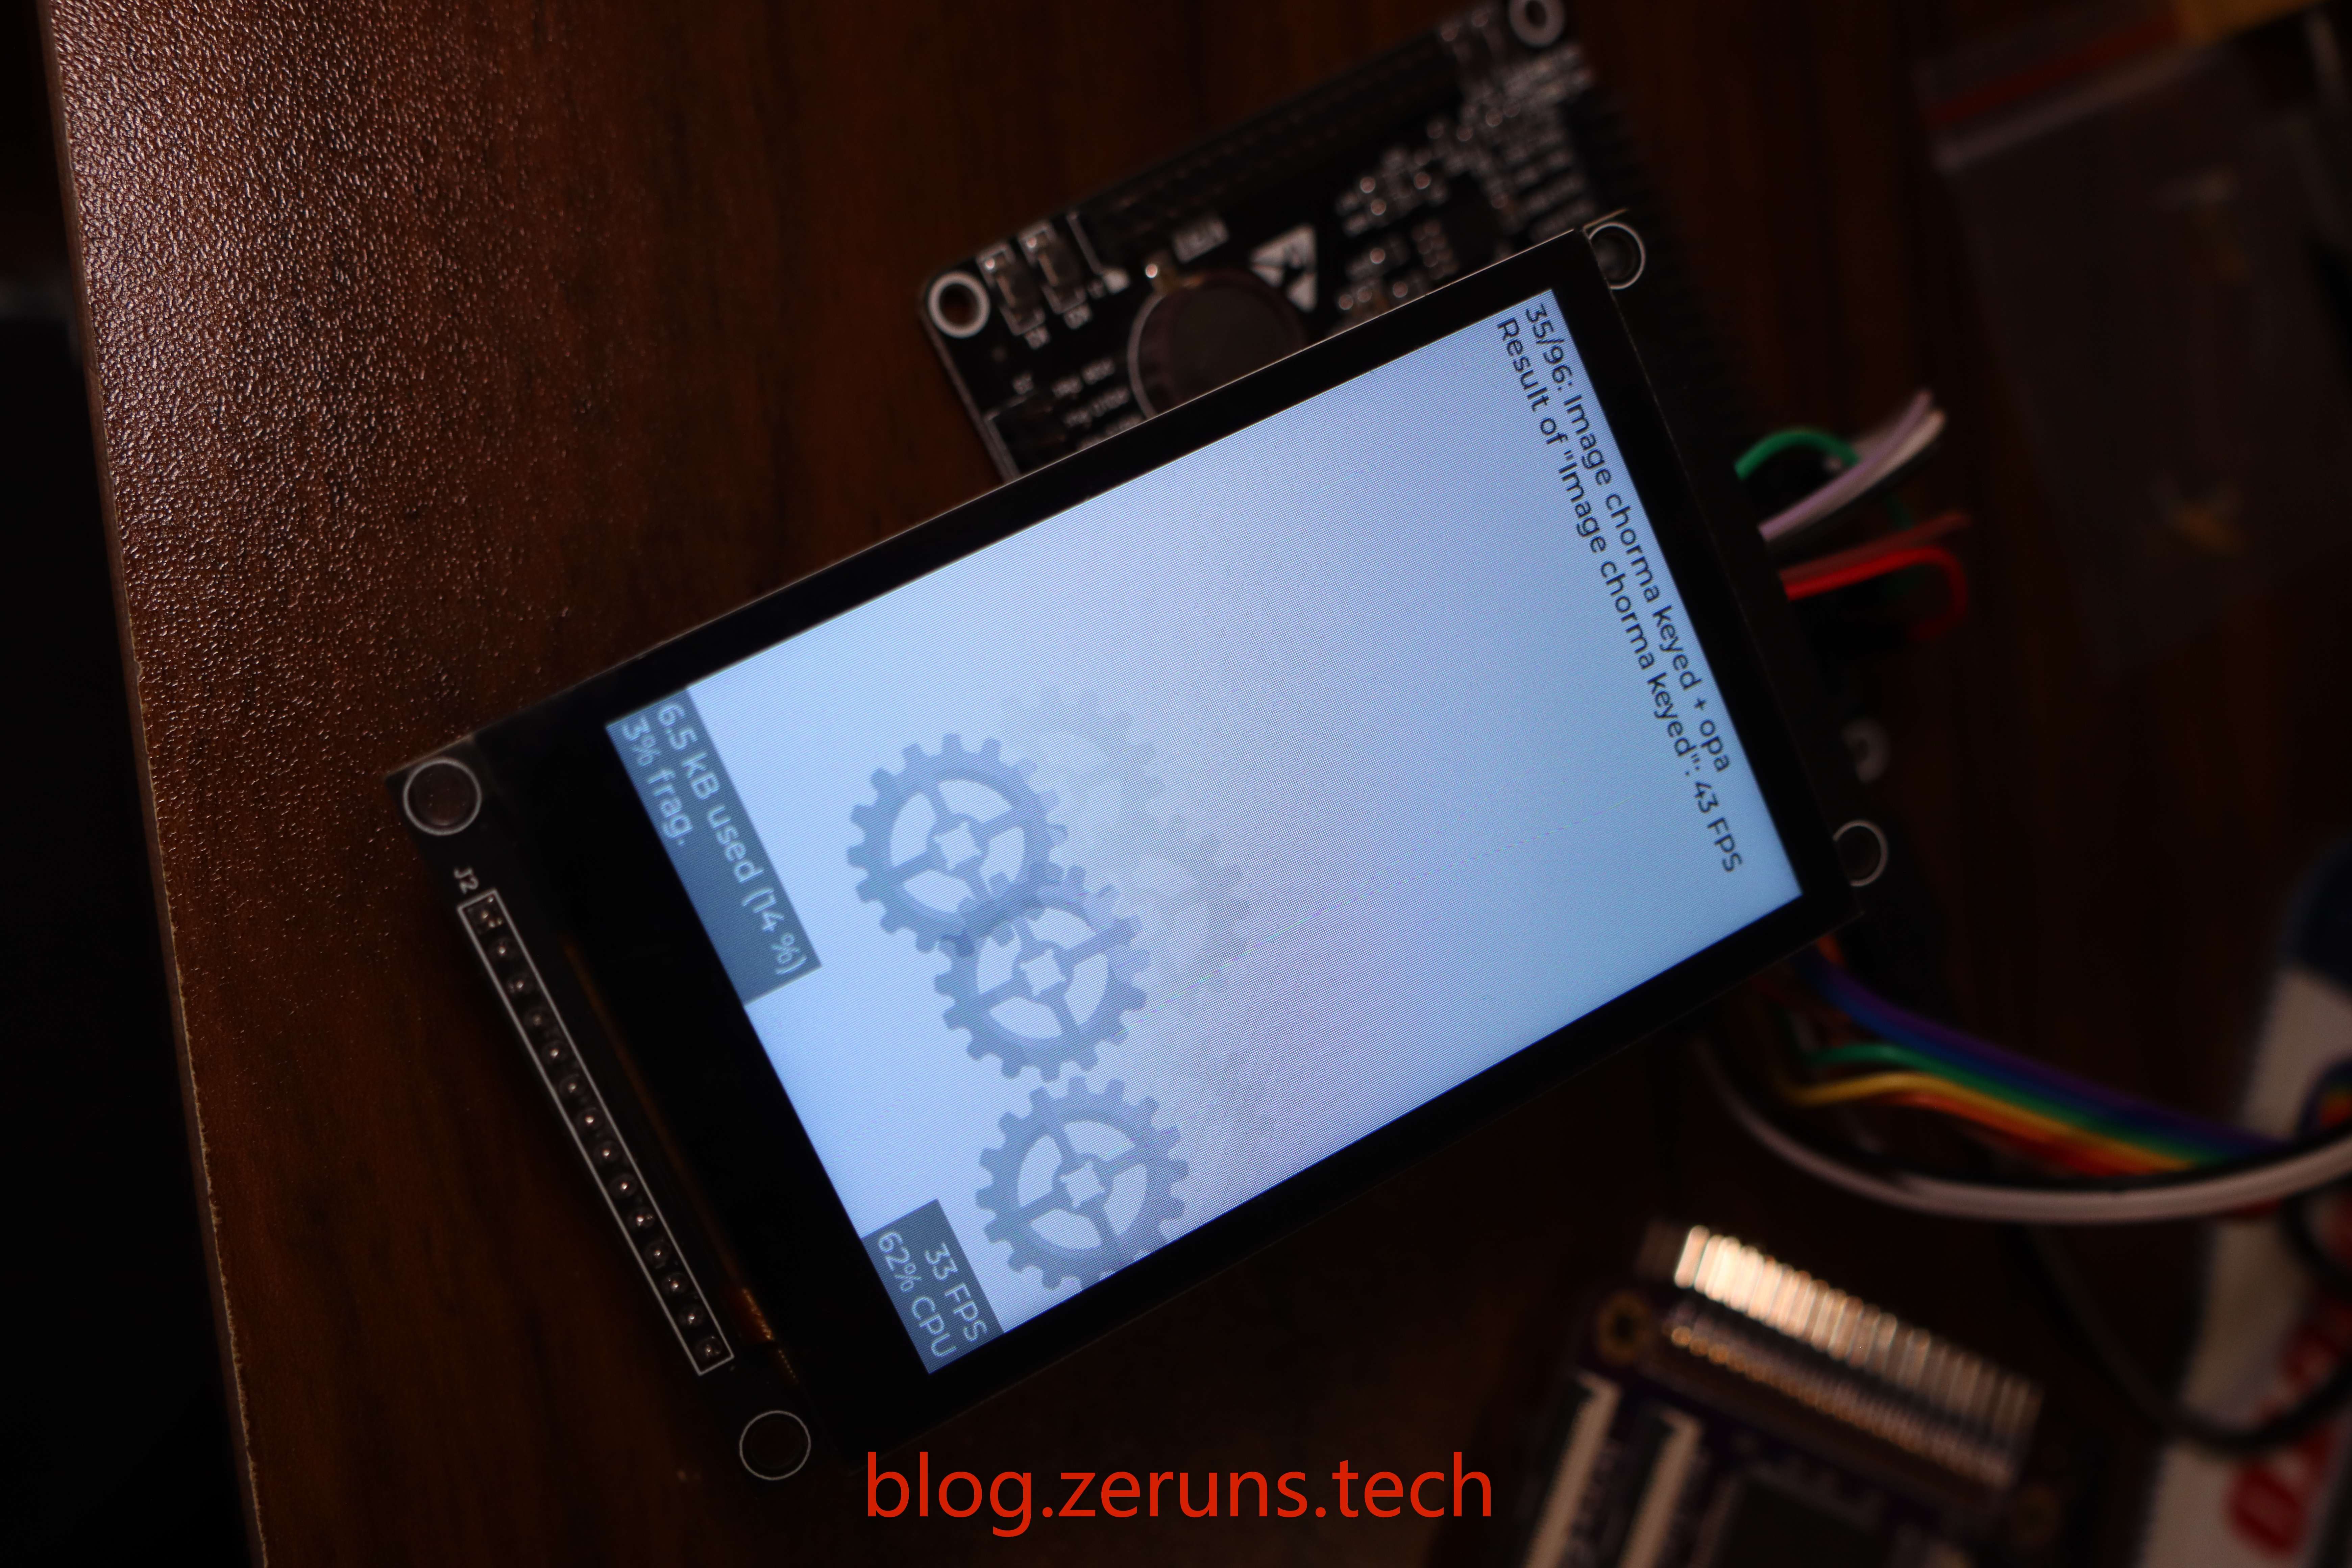
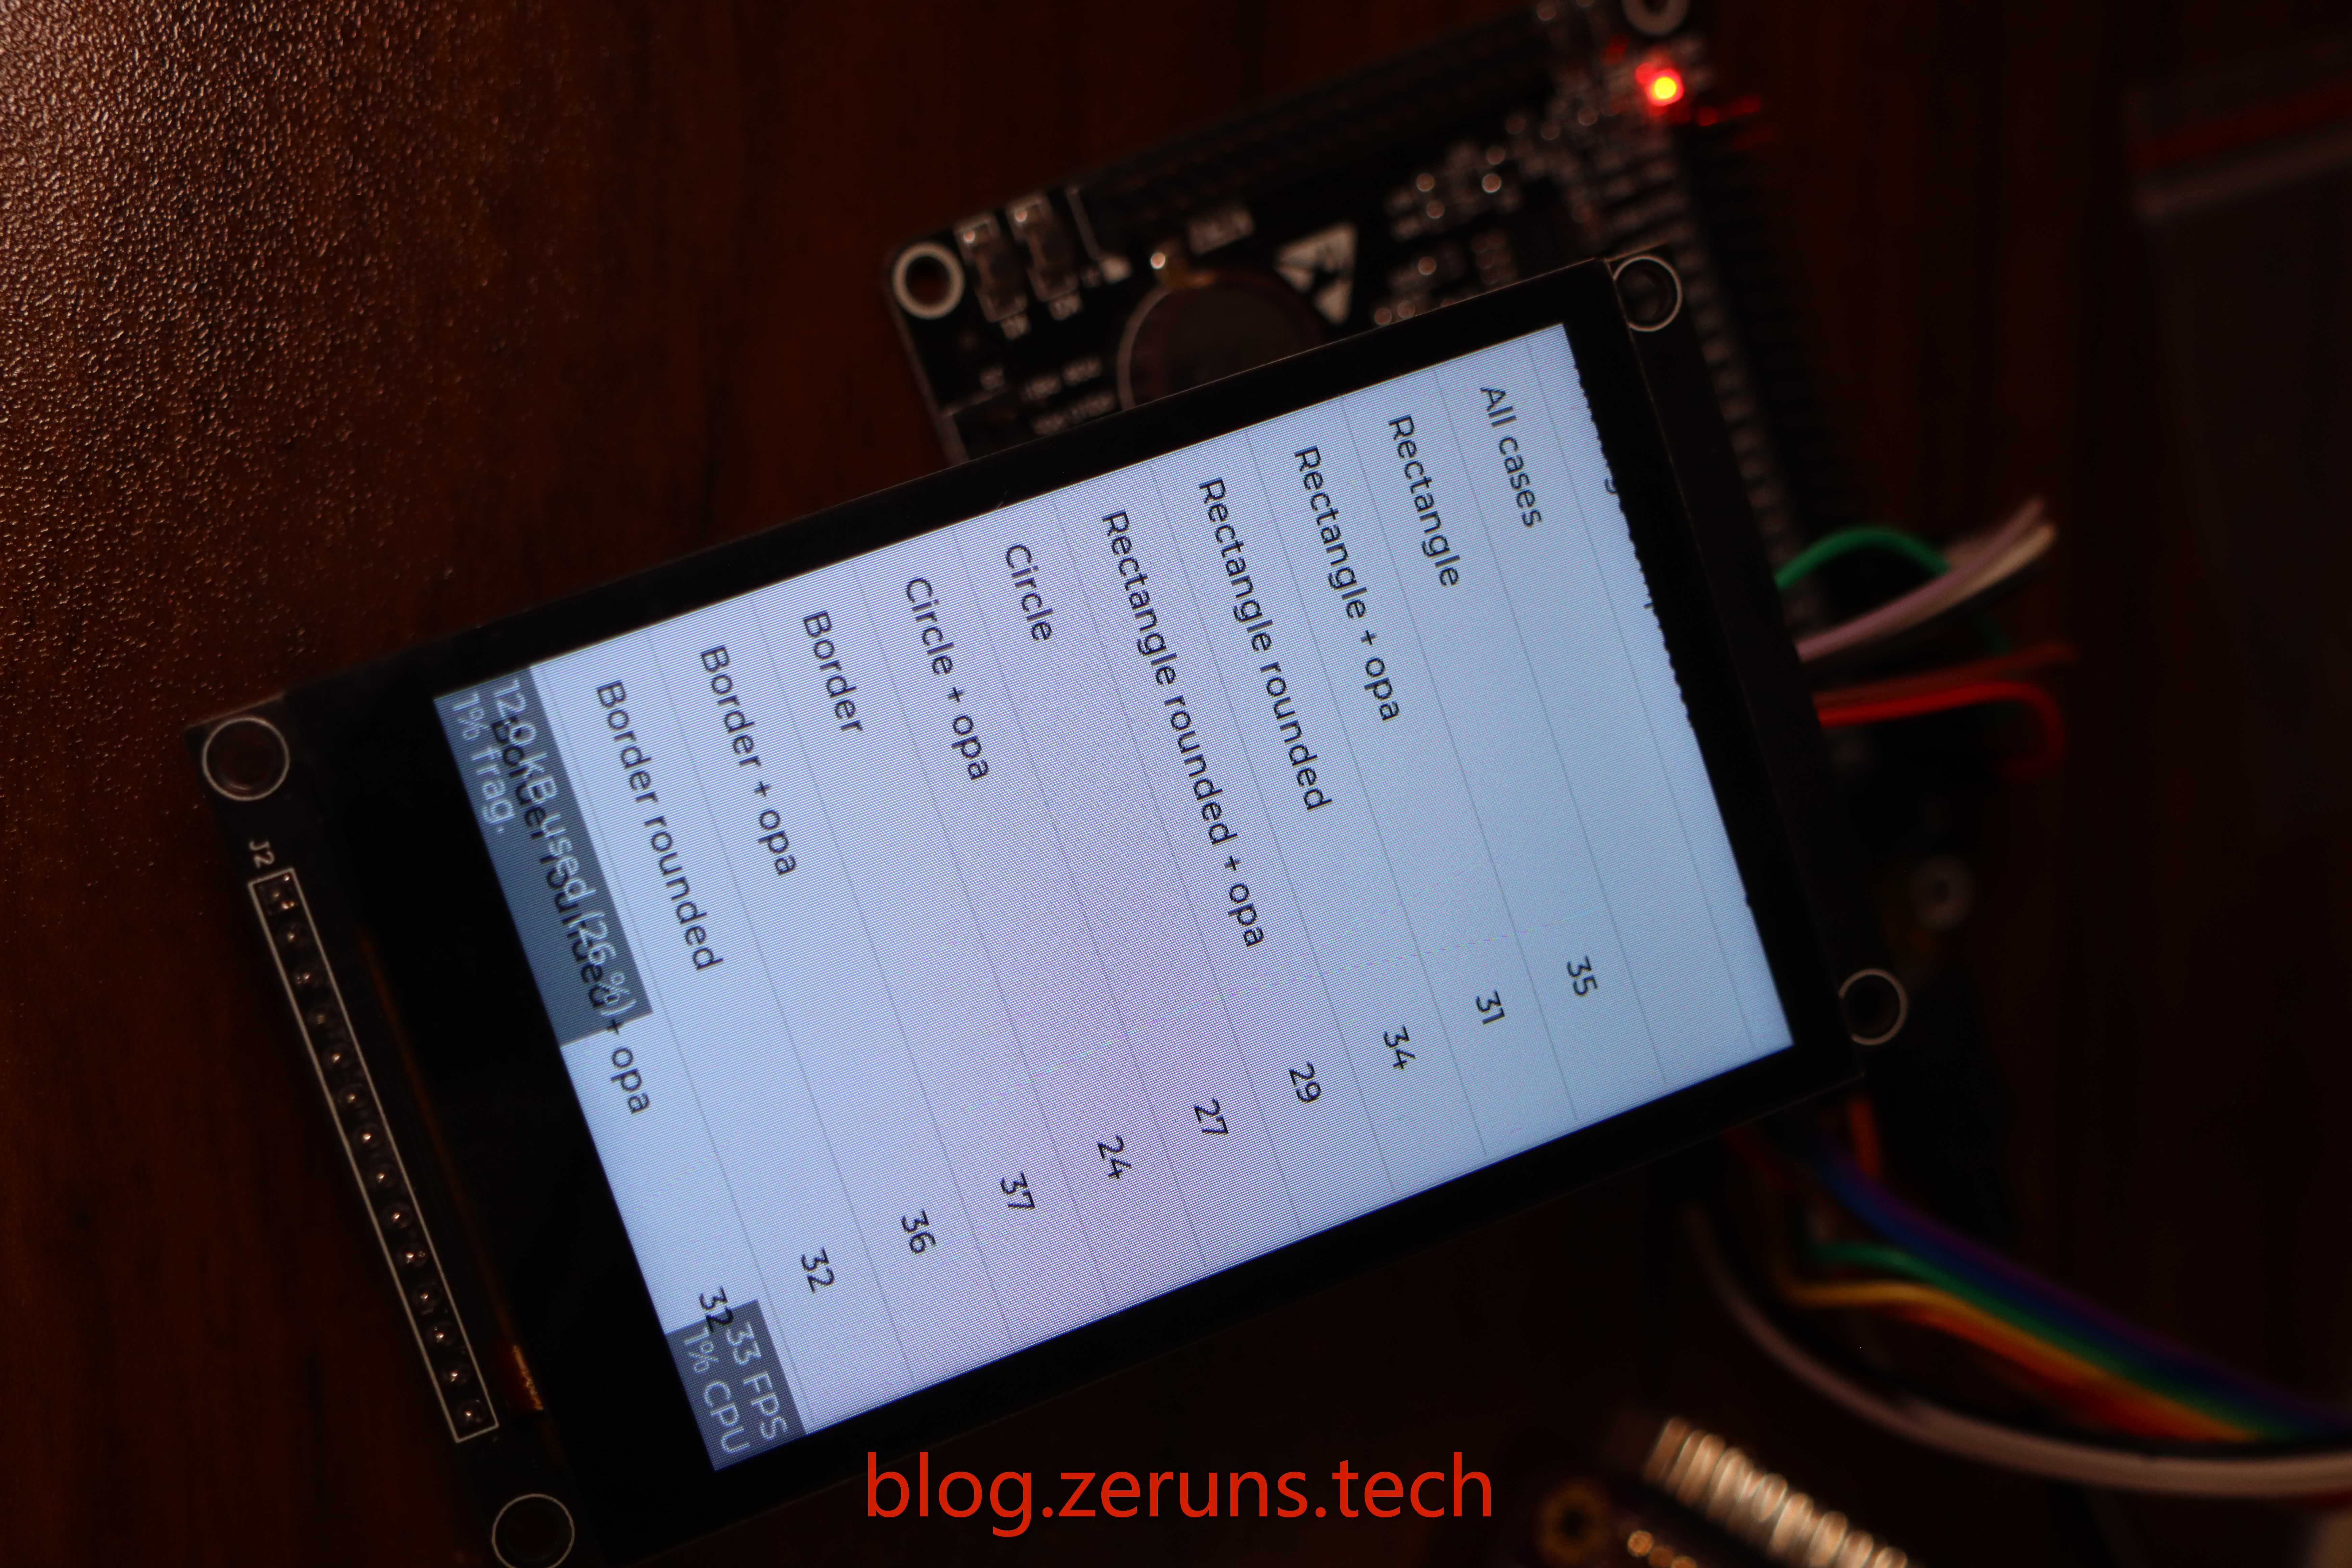
I have successfully ported the LVGL graphics library to the STM32F407 and it is compatible with the MSP3526 LCD screen. If you need to switch to a different screen, you can modify the LCD driver accordingly. The project includes both FreeRTOS and bare metal editions and utilizes SPI+DMA for driving the screen.
This LCD screen has a resolution of 320x480, a size of 3.5 inches, an LCD driver chip of ST7796, and a capacitive touch screen driver chip of FT6336U.
The MCU can achieve a frame rate of about 9FPS for full screen refresh and over 30FPS for partial refresh after overclocking, which is considered acceptable for SPI.
- STM32 uses hardware I2C to read SHTC3 temperature and humidity sensor: https://blog.zeruns.tech/archives/692.html
- STM32F407 standard library project template with U8g2 graphics library ported: https://blog.zeruns.tech/archives/722.html
- STM32G4-based 0.96-inch OLED display driver program (HAL library) supports hardware/software I2C: https://blog.zeruns.tech/archives/776.html Electronic/MCU Technology Exchange Group: 820537762
Demo Video:https://www.bilibili.com/video/BV1Ni421S7ta/
LVGL (Light and Versatile Graphics Library) is a free and open-source graphics library that provides everything needed to create embedded GUIs, with easy-to-use graphical elements, beautiful visual effects, and low memory usage.
Key Features:
- Rich and powerful modular graphical components: buttons, charts, lists, sliders, images, etc.
- Advanced graphical engine: animations, anti-aliasing, transparency, smooth scrolling, layer blending, etc.
- Support for multiple input devices: touch screen, keyboard, encoder, buttons, etc.
- Support for multiple display devices
- Not dependent on specific hardware platforms, can run on any display
- Configurable and scalable (minimum resource usage: 64KB flash, 16KB RAM)
- Multi-language support based on UTF-8, such as Chinese, Japanese, Korean, Arabic, etc.
- Design and layout graphical interfaces using CSS-like methods (e.g., Flexbox, Grid)
- Support for operating systems, external memory, and hardware acceleration (LVGL has built-in support for STM32 DMA2D, NXP PXP, and VGLite)
- Ensure smooth rendering even with a single frame buffer
- Entirely written in C and supports C++ calling
- Support for MicroPython programming, see: LVGL API in MicroPython
- Support for simulator simulation, can develop without hardware
- Abundant example programs
- Detailed documentation and API reference, available online or downloadable as PDF
- Free and open source under the MIT license
Configuration Requirements:
Basically, any modern controller that can drive a display is suitable for running LVGL. The minimum requirements are:
- 16-bit, 32-bit or 64-bit microcontroller or processor
- Recommended clock speed of >16 MHz
- Flash/ROM: >64 KB for essential components (>180 KB recommended)
- RAM:
- Static RAM usage: ~2 KB, depending on used features and object types
- Heap: >2 KB (>8 KB recommended)
- Dynamic data (heap): >2 KB (>16 KB recommended if using multiple objects). Configure LV_MEM_SIZE in lv_conf.h to take effect.
- Display buffer: > "horizontal resolution" pixels (recommended >10 × 10×"horizontal resolution")
- One frame buffer in MCU or external display controller
- C99 or newer compiler
LVGL official website: https://lvgl.io/
| LCD Screen | MCU/Development Board | Function Description |
|---|---|---|
| GND | GND | LCD screen power ground |
| VCC | 5V or 3.3V | LCD screen power positive |
| LCD_CS | PE6 | LCD screen SPI chip select |
| LCD_RST | PC1 | LCD screen reset |
| LCD_RS | PC0 | LCD screen command/data select |
| SDI(MOSI) | PB5 | LCD screen SPI data line, host output to slave input |
| SCK | PB3 | LCD screen SPI clock line |
| LED | 3.3V | Backlight LED (can connect to IO port for software control) |
| SDO(MISO) | PB4 | LCD screen SPI data line, host input from slave output |
| CTP_SCL | PB8 | Capacitive touch screen controller I2C clock line |
| CTP_RST | PB7 | Capacitive touch screen controller reset |
| CTP_SDA | PB9 | Capacitive touch screen controller I2C data line |
| CTP_INT | PB6 | Capacitive touch screen controller interrupt signal |
Note that the PB4 pin on the development board I used for the screenshots is not on the pins on both sides but is on the JTAG interface above.
Online documentation for the screen: https://url.zeruns.tech/68x3Y
Download address 1 for screen resources: https://www.123pan.com/s/2Y9Djv-rZevH.html
Download address 2 for screen resources: https://url.zeruns.tech/gzBO4
Download address 1 for STM32F407+LVGL bare metal project: https://url.zeruns.tech/X242k
Download address 2 for STM32F407+LVGL bare metal project: https://pan.baidu.com/s/1vAhHijYd_aWvRr3_c1_WtA?pwd=ry4g
FreeRTOS版STM32F407+LVGL工程下载地址1:https://www.123pan.com/s/2Y9Djv-CzevH.html
FreeRTOS版STM32F407+LVGL工程下载地址2:https://url.zeruns.tech/0iOHF
Latest version of the program with FreeRTOS is in the Gitee and GitHub open source addresses, and the bare metal version is in the release version, version number 0.1.3.
I ported it according to the tutorial of Zhengdian Yuanzi.
Zhengdian Yuanzi's LVGL usage and porting video tutorial download address 1: https://www.123pan.com/s/2Y9Djv-0ZevH.html
Zhengdian Yuanzi's LVGL usage and porting video tutorial download address 2: https://www.alipan.com/s/Pd6TDfT2rBL
Download the code and compile and download it directly to use it.
If you need to turn off the frame rate and memory usage display, change the 1 to 0 for the following two macro definitions in the lv_conf.h file:
/*1: Show CPU usage and FPS count*/
#define LV_USE_PERF_MONITOR 1
#if LV_USE_PERF_MONITOR
    #define LV_USE_PERF_MONITOR_POS LV_ALIGN_BOTTOM_RIGHT
#endif
/*1: Show the used memory and the memory fragmentation
 * Requires LV_MEM_CUSTOM = 0*/
#define LV_USE_MEM_MONITOR 1
#if LV_USE_MEM_MONITOR
    #define LV_USE_MEM_MONITOR_POS LV_ALIGN_BOTTOM_LEFT
#endif
If you are using the FreeRTOS version, write the code in the freertos.c file. You can use STM32CubeMX software to create threads and semaphores, and then generate the code. The code is written in a specified location according to the specifications, and regenerating will not affect the code you wrote. For the bare metal version, just write the code in the main.c file.
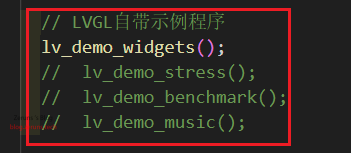
If you need to turn off the Demo program, just comment out the code in the image below.
- STM32F407VET6 Development Board: https://s.click.taobao.com/sQSMWmt
- Daplink Programmer: https://s.click.taobao.com/9kMKWmt
- MSP3526 Screen: https://s.click.taobao.com/i1Z29nt
- Dupont Wire: https://s.click.taobao.com/W1wHWmt
- STM32F407VGT6 Development Board: https://s.click.taobao.com/VjC29nt
The main code is located in the disp_flush function in the lv_port_disp.c file, where the LCD is filled using the following function. The LCD driver is based on the example code provided by the screen manufacturer.
/**
 * @brief 填充LCD屏幕指定矩形区域
 * 使用LVGL库的颜色值填充LCD指定区域。
 * @param sx 起始X坐标
 * @param sy 起始Y坐标
 * @param ex 结束X坐标
 * @param ey 结束Y坐标
 * @param color_p 指向要填充的颜色的指针
 */
void LCD_Fill_LVGL(uint16_t sx, uint16_t sy, uint16_t ex, uint16_t ey, lv_color_t *color_p)
{
    uint32_t i, j;
    uint16_t width = ex - sx + 1;     // 计算填充区域的宽度
    uint16_t height = ey - sy + 1;     // 计算填充区域的高度
    uint32_t Pixel = width * height; // 计算填充区域像素个数
    LCD_SetWindows(sx, sy, ex, ey);     // 设置LCD的显示窗口为指定的区域

//    for (i = 0; i < height; i++)
//    {
//        for (j = 0; j < width; j++){
//            Lcd_WriteData_16Bit(color_p->full); // 写入数据
//        }
//    }

// 数据分割值, 用于分批发送数据
#define data_split 3000

    uint8_t data[Pixel * 2]; // 创建一个数组用于存储颜色数据

    for (i = 0; i < Pixel; i++)
    {
        // 将颜色数据从16位转换为两个8位的数据
        data[i * 2] = (color_p->full) >> 8;            // 获取高8位数据
        data[i * 2 + 1] = (uint8_t)(color_p->full); // 获取低8位数据
        color_p++;                                    // 指向下一个颜色值

        // 判断数据量是否大于10000,如果大于则分批发送数据
        if (Pixel > 10000)
        {
            if ((i + 1) % data_split == 0)
            {
                if ((i + 1) == data_split)
                {
                    Lcd_WriteData_DMA(data, data_split * 2); // 以DMA方式发送数据
                }
                else
                {
                    while (HAL_SPI_GetState(LCD_SPI) != HAL_SPI_STATE_READY);                        // 等待SPI总线空闲
                    uint8_t *temp = &data[((uint16_t)((i + 1) / data_split) - 1) * data_split * 2]; // 获取剩余数据
                    Lcd_WriteData_DMA(temp, data_split * 2);                                        // 以DMA方式发送数据
                }
            }
            else if (((i + 1) % data_split > 0) && ((i + 1) > data_split) && (i == (Pixel - 1)))
            {
                if ((uint16_t)((i + 1) / data_split) == 1)
                {
                    while (HAL_SPI_GetState(LCD_SPI) != HAL_SPI_STATE_READY)
                        ;                                                 // 等待SPI总线空闲
                    uint8_t *temp = &data[data_split * 2];                 // 获取剩余数据
                    Lcd_WriteData_DMA(temp, ((i + 1) % data_split) * 2); // 以DMA方式发送数据
                }
                else
                {
                    while (HAL_SPI_GetState(LCD_SPI) != HAL_SPI_STATE_READY)
                        ;                                                                      // 等待SPI总线空闲
                    uint8_t *temp = &data[(uint16_t)((i + 1) / data_split) * data_split * 2]; // 获取剩余数据
                    Lcd_WriteData_DMA(temp, ((i + 1) % data_split) * 2);
                }
            }
        }
    }

    if (Pixel <= 10000)
    {
        // 要发送的数据小于10000*2字节时一次全部发送
        Lcd_WriteData_DMA(data, Pixel * 2);
    }

    LCD_SetWindows(0, 0, lcddev.width - 1, lcddev.height - 1); // 恢复窗口设置为全屏
}- I've open sourced a three-phase power meter that can conveniently monitor home electricity usage: https://blog.zeruns.tech/archives/771.html
- STM32F407 standard library project template with U8g2 graphics library ported: https://blog.zeruns.tech/archives/722.html
- QinHeng CH32V307VCT6 minimum system board open source: https://blog.zeruns.tech/archives/726.html
- LM25118 automatic boost-buck adjustable DCDC power module: https://blog.zeruns.tech/archives/727.html
- EG1164 high-power synchronous rectifier boost module open source, with up to 97% efficiency: https://blog.zeruns.tech/archives/730.html
- Based on HeYu Air700E's 4G environmental monitoring node (temperature, humidity, air pressure, etc.), upload data to Alibaba Cloud IoT platform via MQTT: https://blog.zeruns.tech/archives/747.html
- Based on CH32V307's intelligent electronic load open source, an open source work for an embedded competition: https://blog.zeruns.tech/archives/785.html
- High value-for-money and affordable VPS/cloud server recommendations: https://blog.zeruns.tech/archives/383.html
- My World server setup tutorial: https://blog.zeruns.tech/tag/mc/
- Review of Ruideng RD6012P CNC adjustable power supply: https://blog.zeruns.tech/archives/740.html
- Experience with the opening of the Tuozhu P1SC 3D printer: https://blog.zeruns.tech/archives/770.html
- Comparison of different brands and types of capacitors and inductors (D value, Q value, ESR, X): https://blog.zeruns.tech/archives/765.html
- Test and teardown of a 2.6 yuan 120W charger from Douyin Mall: https://blog.zeruns.tech/archives/786.html
