我所理解的设置圆角的方式,无离屏渲染,无mask 使用 CAShaperLayer 实现 轻量级应用 Extension 来实现 欢迎star
swift 版本如下 DRCorner_Swift
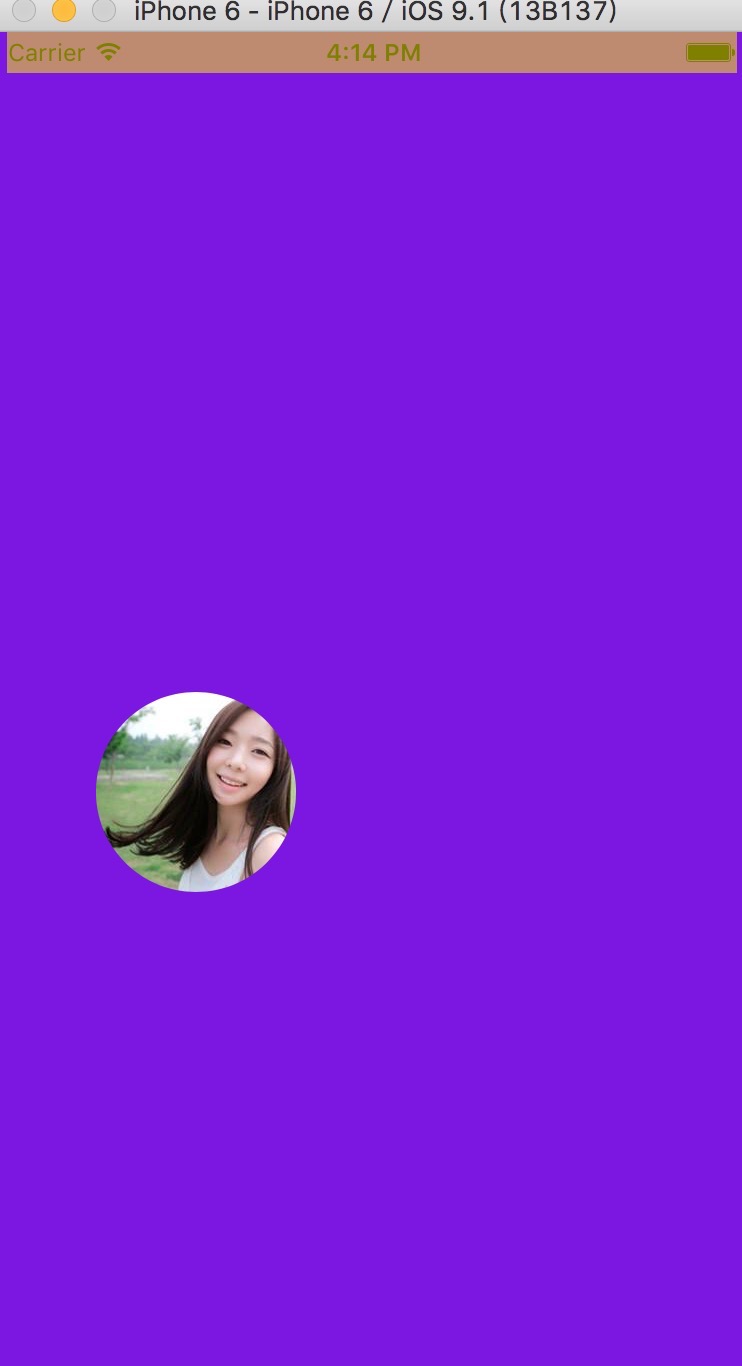
使用 maskToBounds 和 cornerRadius 或者 mask 时 造成的离屏渲染(如下图)
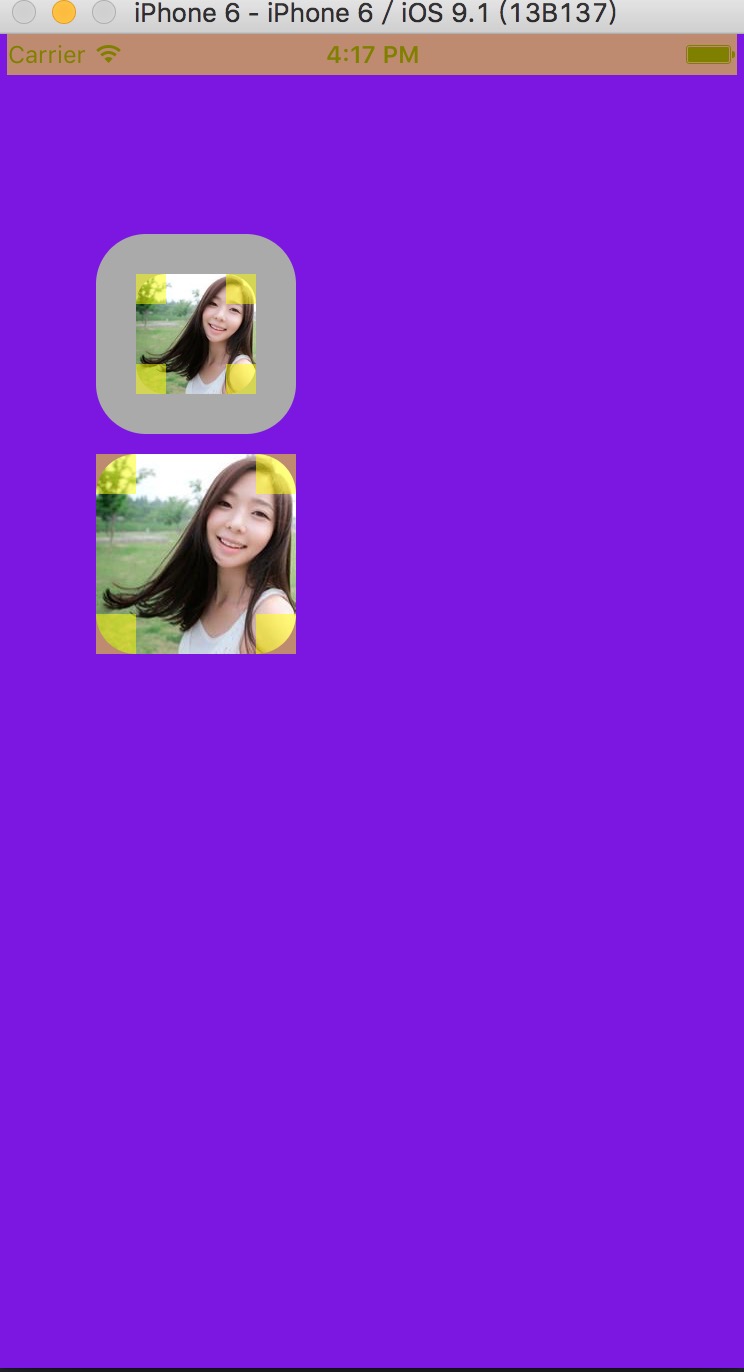
使用 UIView+Corner 时的UIImageView
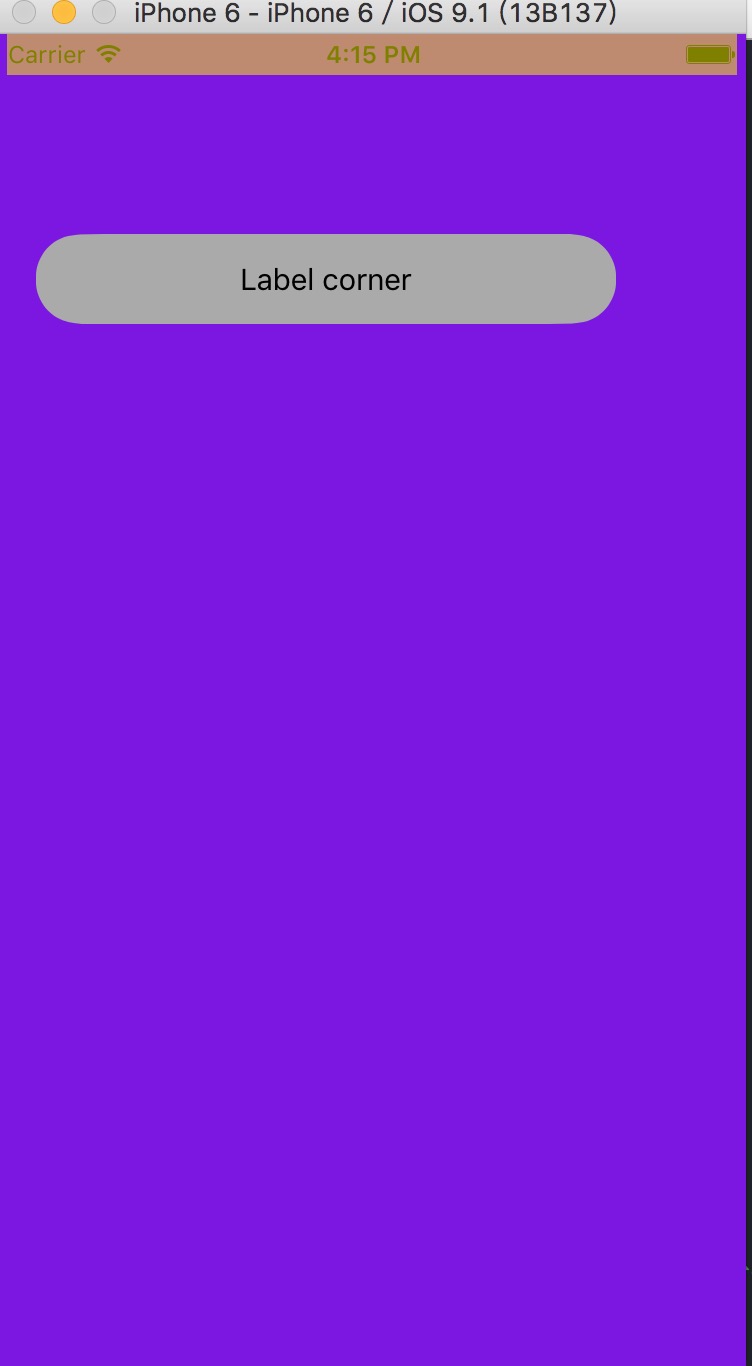
使用 UIView+Corner 时的UILabel
核心代码
- (void)dr_roundingCorner:(DRRoundCorner)roundCorner radius:(CGFloat)radius backgroundColor:(UIColor *)bgColor borderColor:(UIColor *)borderColor {
    [self removeDRCorner];
    CGFloat width = CGRectGetWidth(self.bounds);
    CGFloat height = CGRectGetHeight(self.bounds);
    UIBezierPath * path= [UIBezierPath bezierPathWithRect:CGRectMake(0, 0, width, height)];
    CAShapeLayer *shapeLayer = [CAShapeLayer layer];
    shapeLayer.name = DRCornerLayerName;
    UIRectCorner sysCorner = (UIRectCorner)roundCorner;
    UIBezierPath *cornerPath = [UIBezierPath bezierPathWithRoundedRect:self.bounds byRoundingCorners:sysCorner cornerRadii:CGSizeMake(radius, radius)];
    [path  appendPath:cornerPath];
    //[path setUsesEvenOddFillRule:YES];
    shapeLayer.path = path.CGPath;
    shapeLayer.fillRule = kCAFillRuleEvenOdd;
    shapeLayer.fillColor = bgColor.CGColor;
    if (borderColor) {
        //CGPathApply
        CGFloat cornerPathLength = lengthOfCGPath(roundCorner,radius,self.bounds.size);
        CGFloat totolPathLength = 2*(CGRectGetHeight(self.bounds)+CGRectGetWidth(self.bounds))+cornerPathLength;
        shapeLayer.strokeStart = (totolPathLength-cornerPathLength)/totolPathLength;
        shapeLayer.strokeEnd = 1.0;
        shapeLayer.strokeColor = borderColor.CGColor;
    }
    if ([self isKindOfClass:[UILabel class]]) {
        dispatch_after(dispatch_time(DISPATCH_TIME_NOW, (int64_t)(0 * NSEC_PER_SEC)), dispatch_get_main_queue(), ^{
            [self.layer addSublayer:shapeLayer];
        });
        return;
    }
    [self.layer addSublayer:shapeLayer];
}
本方法会有图层混合的问题 下面附上 该demo 的真机测试图 机器是 5c
##补充
-
git 已经更新 新增加了 -topCorner ; -bottomCorner ; 和 -removeCorner ; -(BOOL)hasDRCornered ;方法,并且现在你在多次给同一视图添加圆角时也不会出现性能问题了。
-
git代码已更新,添加了传入需要圆角的正确
bounds,因此对于xib创建的view添加圆角就需要你在能获取到正确frame的地方在去添加圆角,具体的实现在最新代码中都已经给出. -
如果你不能获得每个
subview的实际bounds,那么这里在给你提供一种不是那么轻量级的实现,通过交换-layoutSubviews方法,在自己的dr_layoutSubviews实现中,判断是否给self添加了圆角,如果是,则创建一个dr_maskView将,在- dr_roundingCorner: radius: backgroundColor: borderColor:中保存的设置,通过调用-addMaskLayerToSubView: cornerType: radius: bgColor: borderColor:方法给dr_maskView添加圆角,并将dr_maskView的userInteractionEnabled设置为NO后添加到self的最顶层.
在UIView+DRCorner.m中重写+load方法利用runtime来交换一下UIView的-layoutSubviews方法:
+ (void)load {
    static dispatch_once_t onceToken;
    dispatch_once(&onceToken, ^{
       Method originalLayoutSubviewsMethod = class_getInstanceMethod(self, @selector(layoutSubviews));
        Method swizzledLayoutSubviewsMethod = class_getInstanceMethod(self, @selector(dr_layoutSubviews));
        method_exchangeImplementations(originalLayoutSubviewsMethod, swizzledLayoutSubviewsMethod);
    });
}

-(void)dr_layoutSubviews {
    [self dr_layoutSubviews];
    //这里判断是否掉用过添加圆角的方法(本人用`runtime`在添加圆角的方法中动态添加了一个属性字典给self,因此这里只需要获取一下这个字典看是否存在)
    //添加过圆角就实现`dr_maskView`的创建,绘制圆角,添加到self操作
    ...
}
具体实现就不写了,感觉这种方式并不怎么轻量级,和原本设计的有些不相符[dog脸]
增加了描边功能,效果图如下
个人原创请star支持,拜谢


