The MLDialogFlow sdk makes it easy to integrate DialogFlow inside an iOS application and communicate to it using voice commands. So it can be thought as a built in VoiceControl manager for your app.
iOS 10 or superior
- To run the example project, clone the repo, and run
pod installfrom the Example directory first. - Open Example/MLDialogFLow.xcworkspace file
- In ViewController
lazy var voiceControlinitialization provide your dialog flow api key token (check the integration section). - Run on the simulator and try any message you already checked on the dialog flow console.
You have several options if it's your first contact with DialogFlow:
- Follow the complete DialogFlow manual.
- Checkout this Chatbot AppCoda tutorial. You could do the same, but stop on the Connecting to Dialogflow using the API.AI SDK part and follow our installation part to do the same but using voice commands.
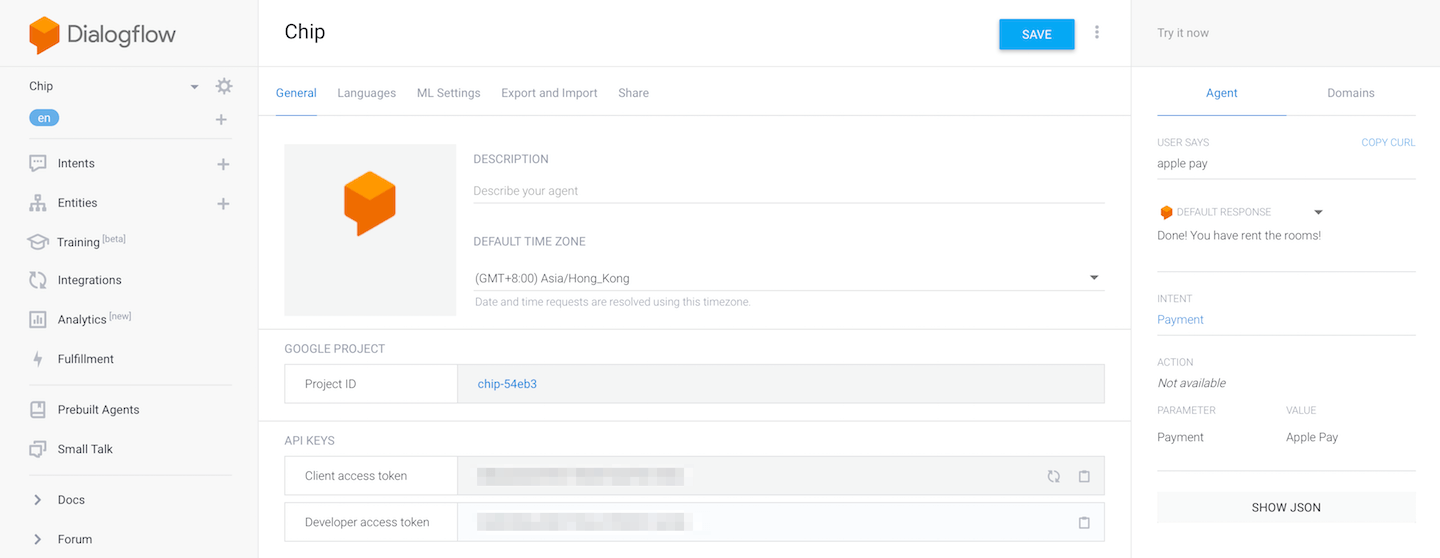
Once you've played enough with DialogFlow, checked everything using their console, you just need to extract the api token and note it for later. You can find it on your project settings.
MLDialogFlow is available through CocoaPods. To install it, simply add the following line to your Podfile:
pod 'MLDialogFlow'
pod "ApiAI", :git => "git@github.com:metrolab/dialogflow-apple-client.git", :tag => "ml1.0.0"
This library uses an improved version of api.ai sdk for ios. You must override ApiAi pod on you podfile (as you can see also on the example)
You'll need to add NSMicrophoneUsageDescription & NSSpeechRecognitionUsageDescription in your Info.plist to explain why you'll need the microphone permission and the speech recognition respectively as the user will get a prompt asking for those permissions.
In your Info.plist:
<key>NSMicrophoneUsageDescription</key>
<string>Explanation description for microphone usage</string>
<key>NSSpeechRecognitionUsageDescription</key>
<string>Explanation description for speech recognition usage</string>
Wherever you need the voice control manager just initialise it using the builder inserting your dialog flow token:
let voiceControl = MLVoiceBuilder(dialogFlowToken: "place_your_token_here").build()
You can customise some elements using the builder, before calling the build() method:
- language: Providing an implementation of VoiceControlLanguage you will be able to set the voice locale (speech and recognition) and dialog flow language.
- incompleteDFActions: array of dialog flow intent names that mean "no action recognized". For instance you could provide an information intent, that does nothing but providing some information to the user.
- recognitionTime: Time after you stopped talking to wait if more voice comes in before to send recognized text to dialog flow.
You can request permissions first and start manager later on if you want to provide a "Pre permissions" screen, but if you don't the easier way is to always make sure everything is ok by chaining requests:
voiceControl.requestPermissions { [weak voiceControl] permissionsGranted in
        if permissionsGranted {
            voiceControl?.start()
        } else {
            print("Permissions not granted! voice control cannot start")
        }
    }
After that you just need to listen to VoiceControl events (using RxSwift). by observing events property:
    voiceControl.events.subscribe (onNext:  { [unowned self] event in
        switch event {
        case .error:
            print("voice control error")
        case .processing:
            print("voice control processing")
        case let .question(text):
            print("voice control intermediate question: \(text)")
        case let .recognizedText(text):
        	  print("voice control recognized text from voice: \(text)")
        case let .success(msg, result):
           print("voice control finished with msg: \(msg)")
           print("received result: \(String(describing: result.action))")
        }
    }).disposed(by: disposeBag)
Eli Kohen, eli.kohen@metropolis-lab.io
MLDialogFlow is available under the MIT license. See the LICENSE file for more info.


